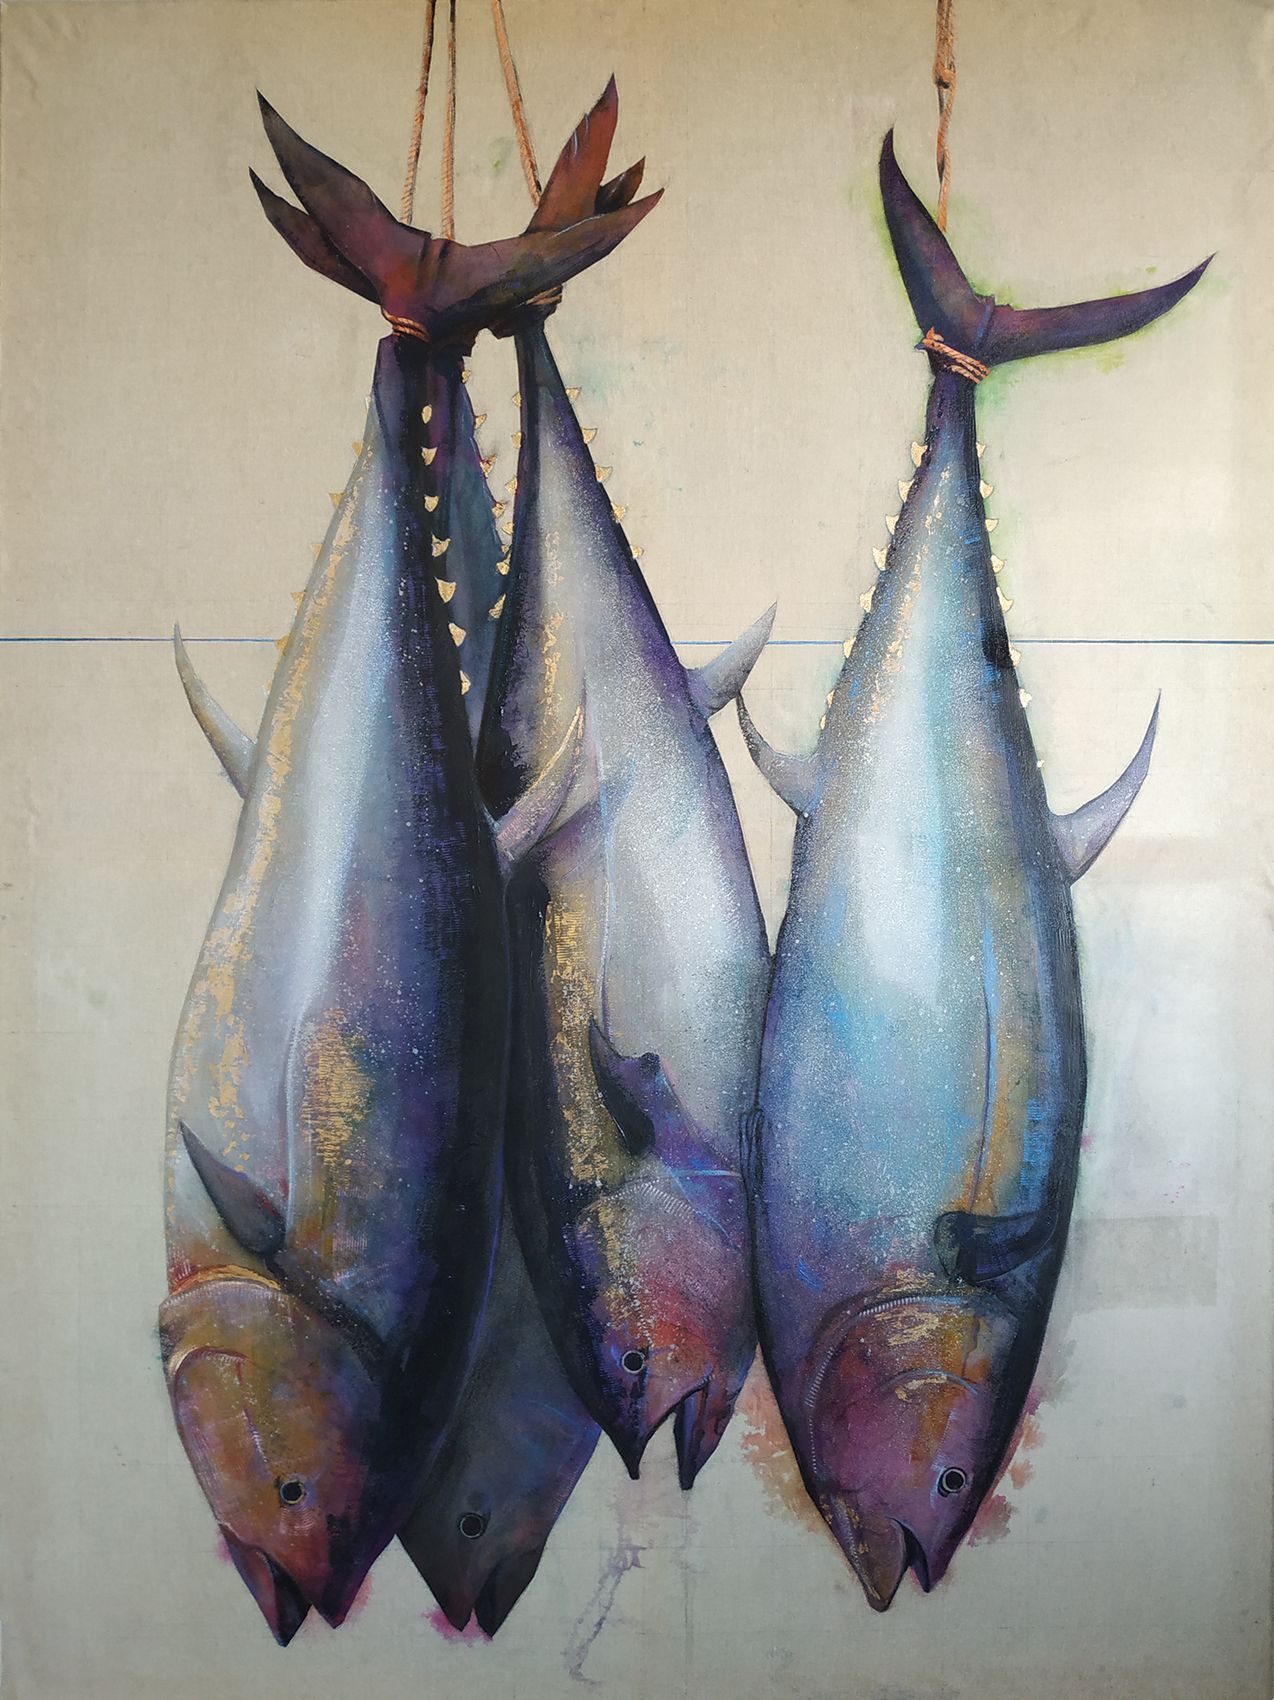
The process of the painting “Tuna” goes through several phases such as the preparation of the support or canvas, the drawing, the taping to protect the background and the painting part.
Canvas preparation
The process of the “Tuna” painting begins with the preparation of the canvas.
First, after assembling the stretcher bars, I proceed to tighten the canvas. The tensioning process is done with pliers to hold the canvas and apply tension while I fix the canvas to the frame with the stapler. With this painting I have opted for staples but at other times I use tacks applied with a hammer.
For the stretching of the canvas I start by wetting the canvas so that it has more elasticity and when it dries it will be stretched avoiding wrinkles on the surface of the painting. The way to proceed in the tensioning is always from the central part of each side of the frame and towards the outside or corners, thus avoiding the dreaded wrinkles. In the photo below you can see how I have been putting the staples pending the corners of the frame.
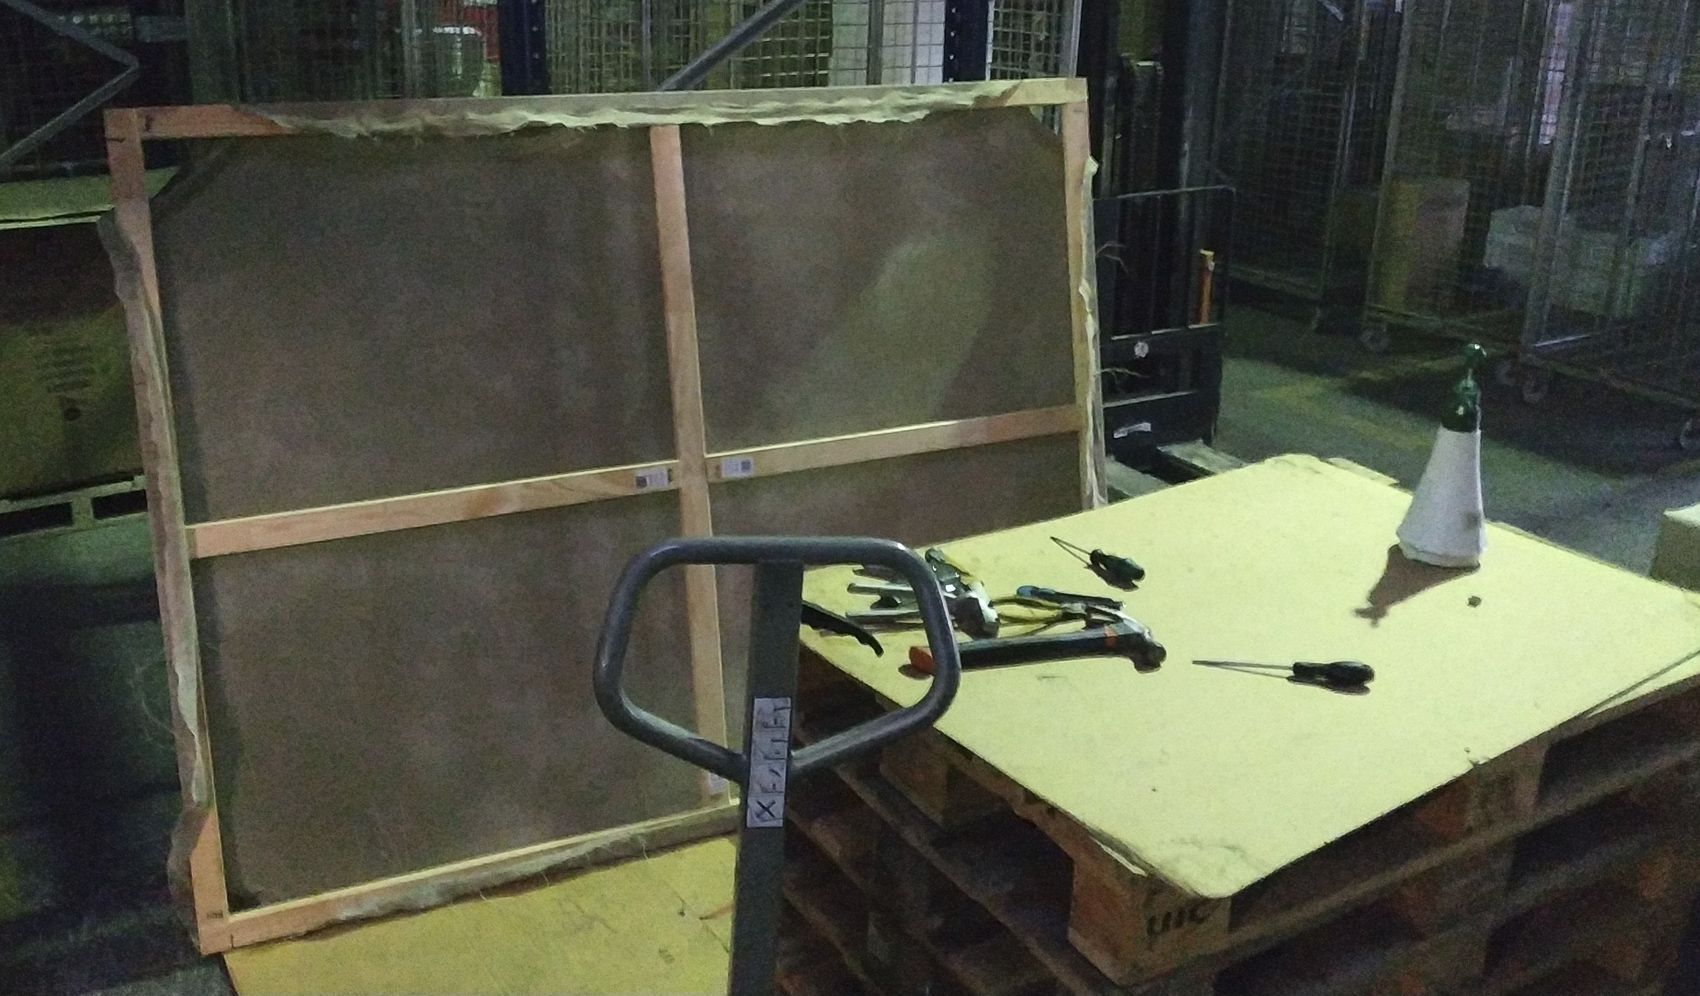
Once the tensioning is done, it is time to apply the primer. The canvas is still wet so the primer will penetrate better into the fibers of the canvas.
In this case I did not apply a normal primer as I only used rabbit glue, the primer binder. For this painting I intended to keep the color of the canvas raw and the techniques I would use on it allowed me this procedure.
Primer preparation
Rabbit glue can be purchased in powdered form, in grain or in sheets. I have used it in powder form, although the procedure is similar in the other forms.
Put 70 g of rabbit tail in 1 l of water for 24 hours. During this time the glue will hydrate and take on a jelly-like appearance.
It is then heated in a bain-marie in a heat source and stirred to dissolve completely, without lumps. In the case of this painting I apply it on the canvas at this moment, hot, but for the preparation of other primers at this moment I would add the rest of the ingredients such as linseed oil (3 tablespoons), calcium carbonate (charge) and the pigment part, usually zinc white or titanium white. The proportions of these ingredients may vary slightly but I use 50% glue and the other 50% carbonate and pigment in equal parts.
For the application of the mixture or glue, as in this case, I always use a foam roller that gives me a more homogeneous result.
I leave a link to a primer recipe that closely resembles the one I use.
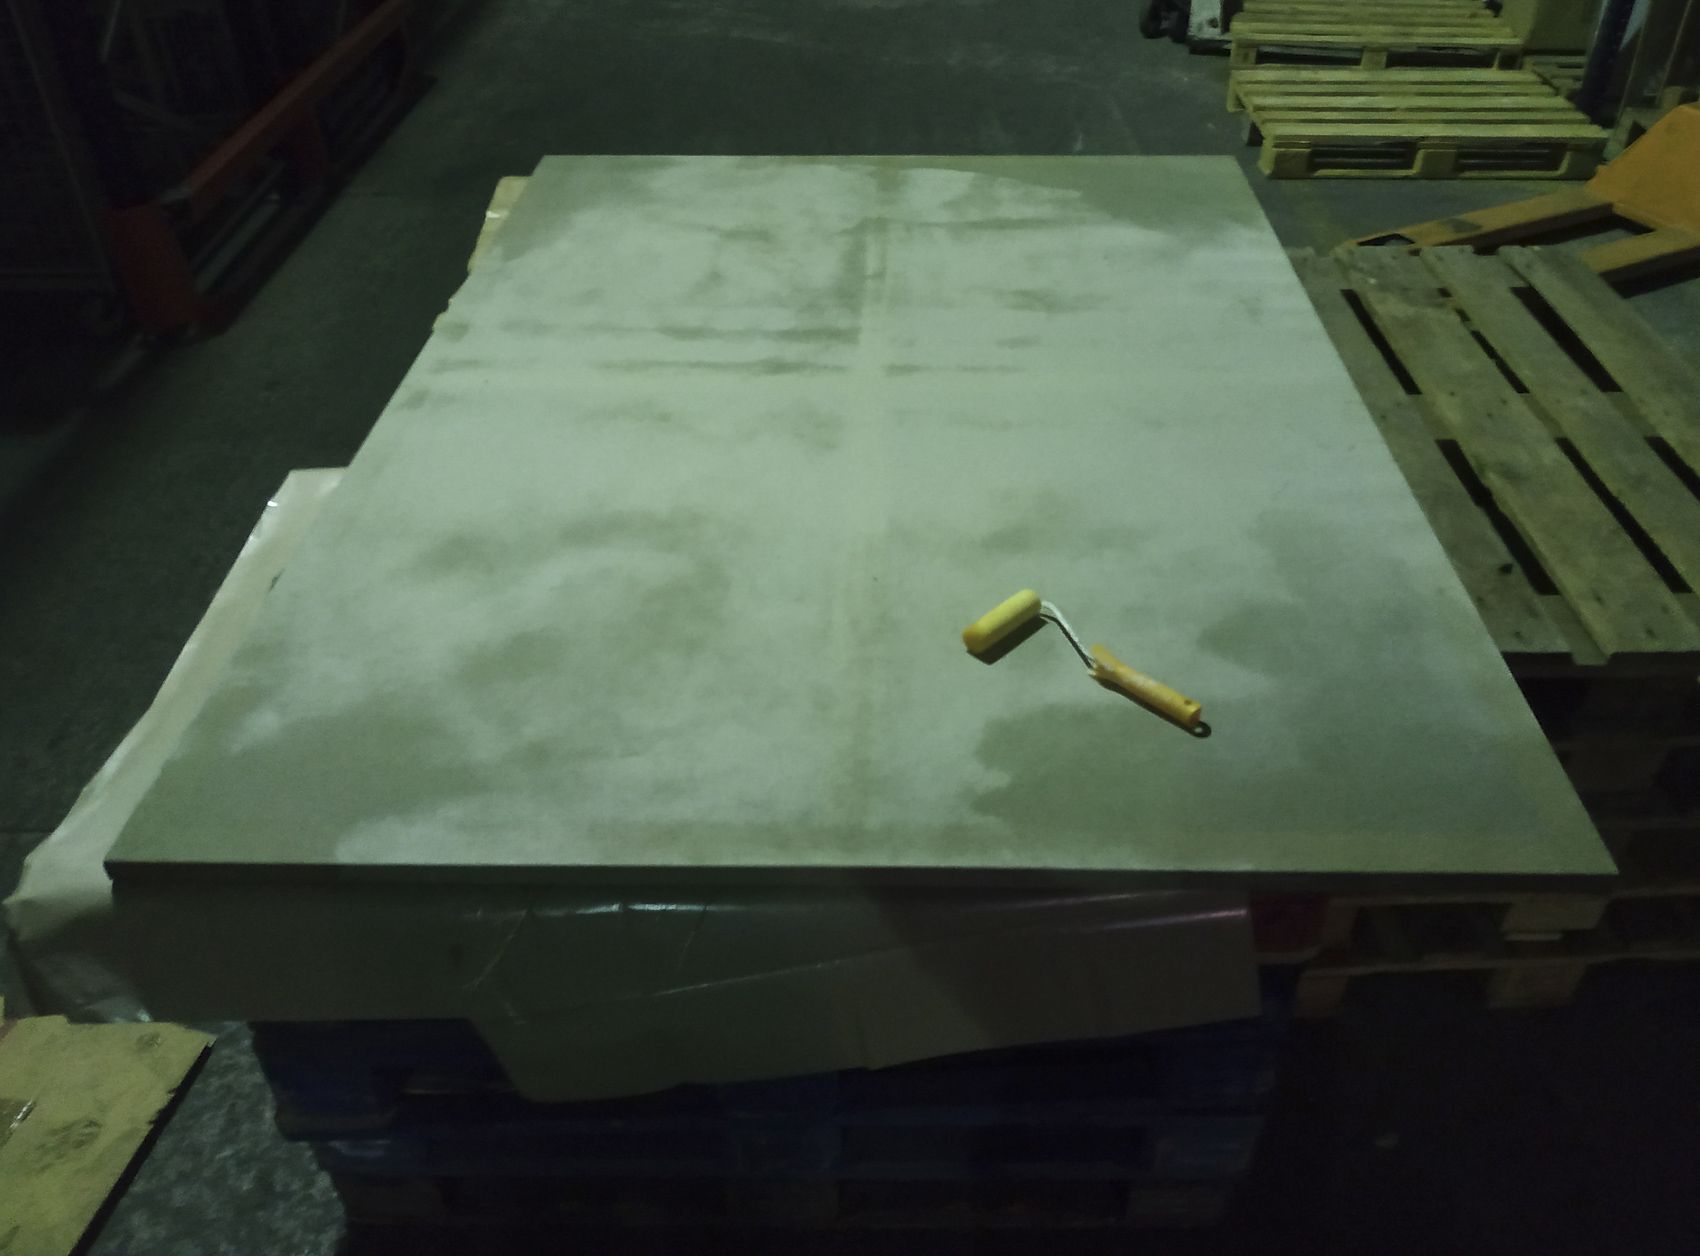
The canvas is left to dry between coats of primer horizontally. In the successive coats the primer must be reduced with water, 5-8%. Allow to dry for at least 24 hours.
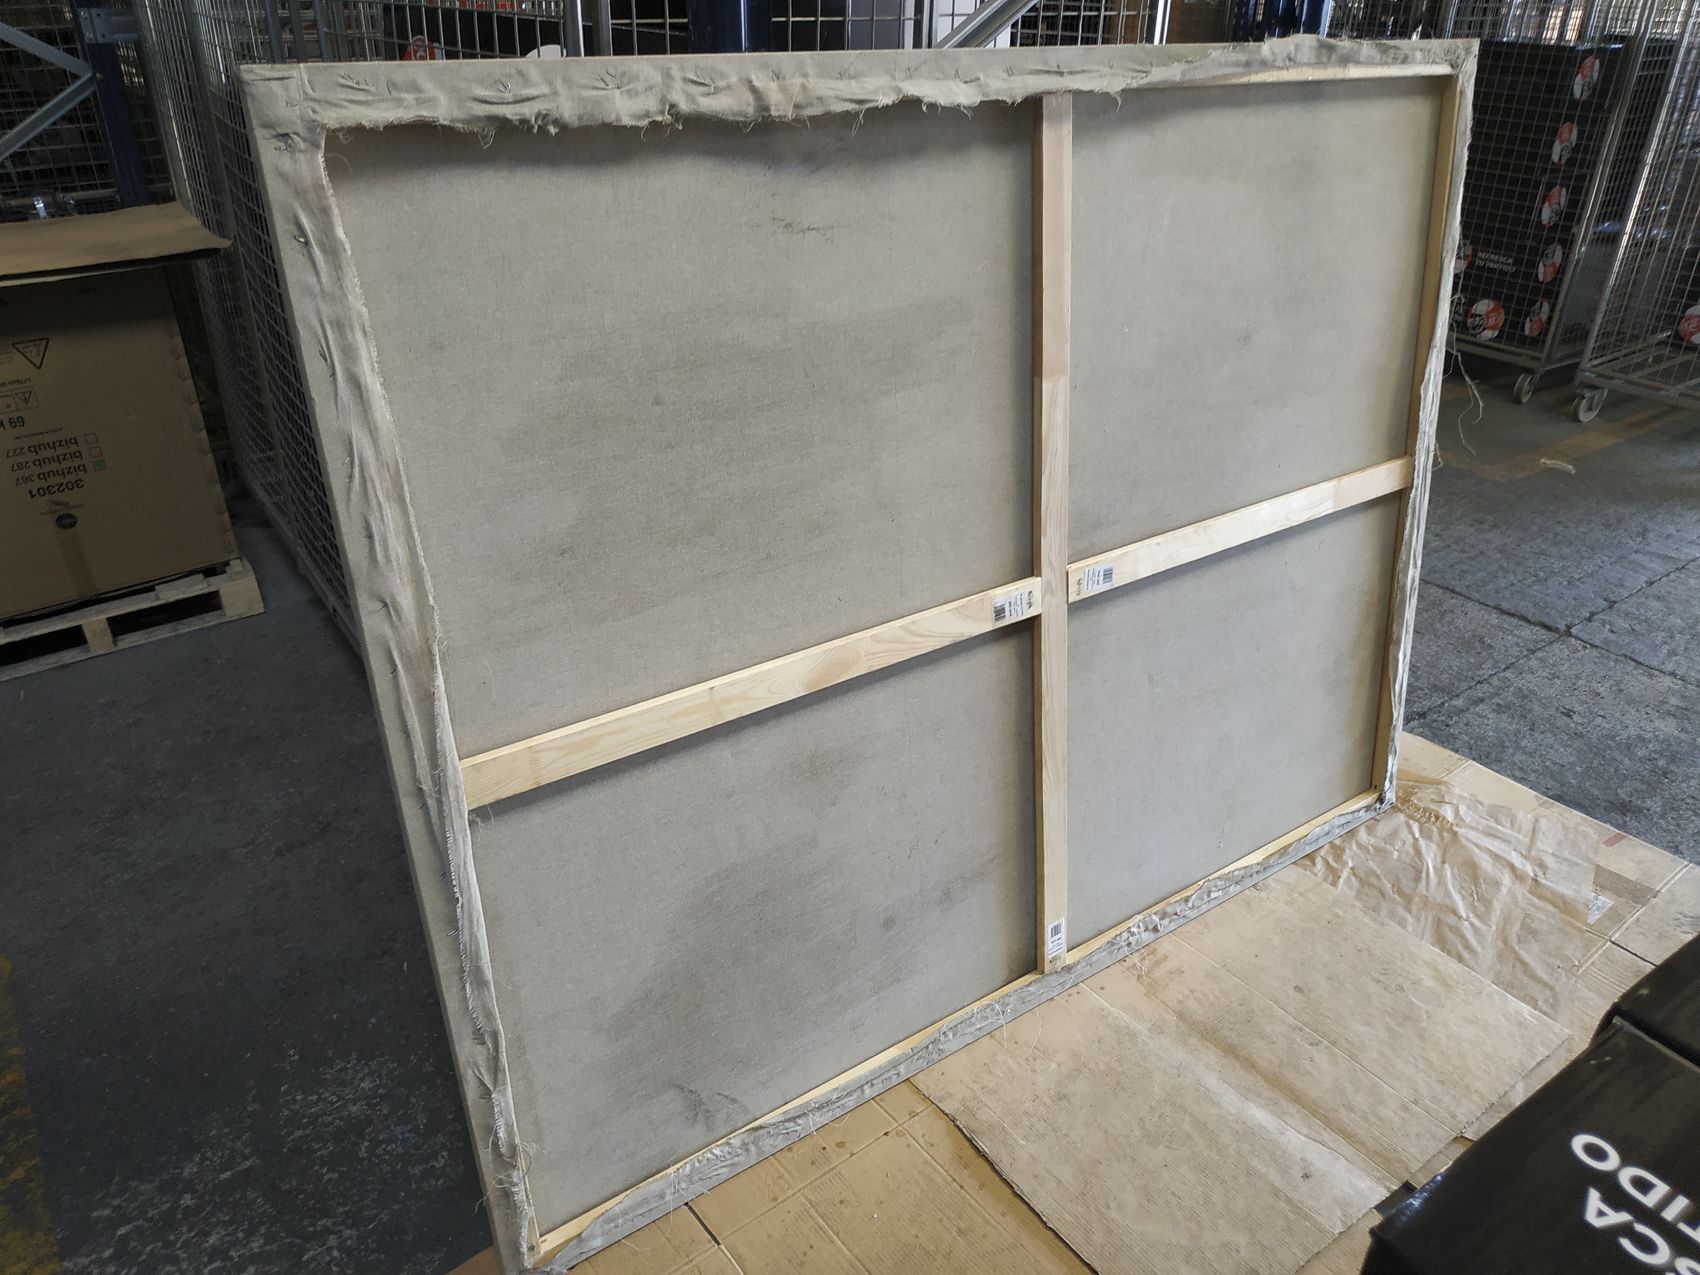
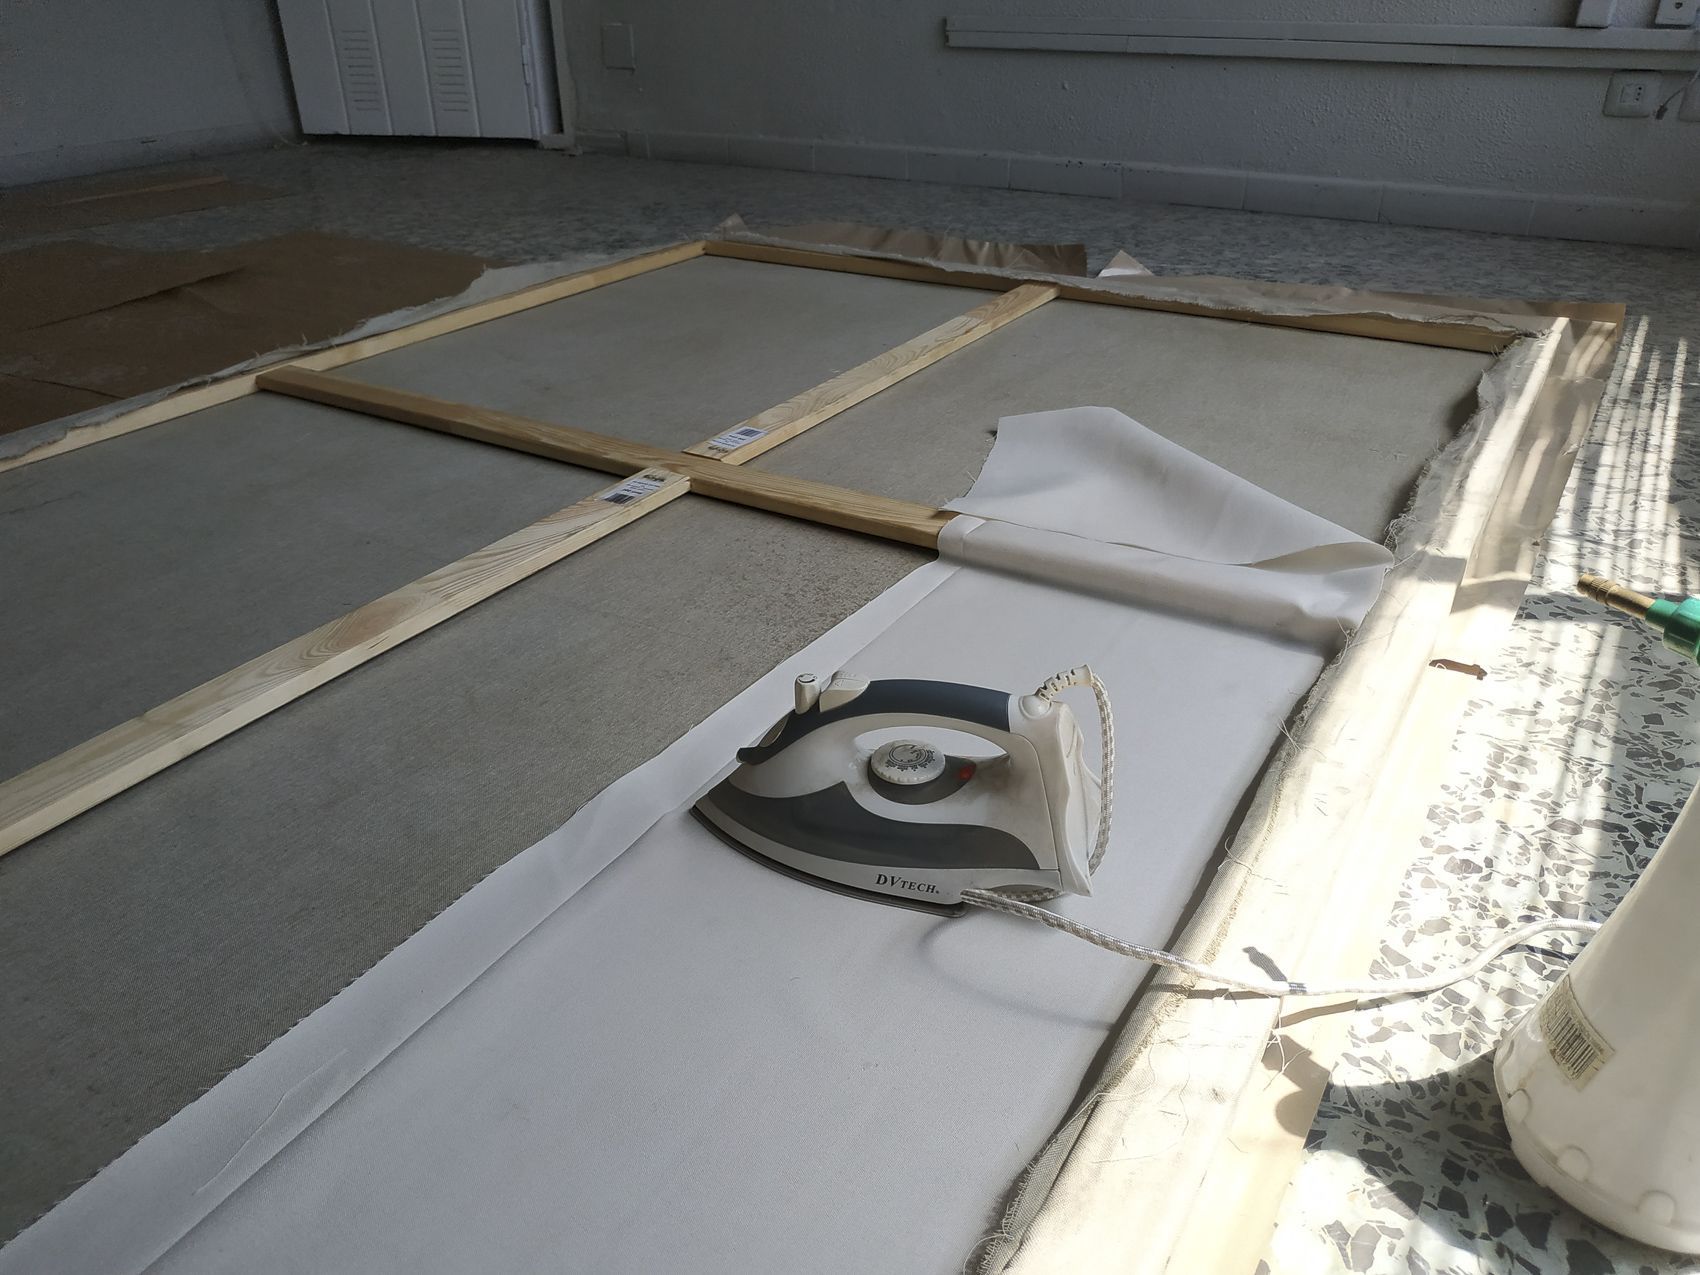
Sometimes the tensioning is not uniform and wrinkles appear on the canvas. In these cases, water is sprayed on the back of the frame and ironed at low temperature, in a few minutes a perfect and uniform tension is achieved.
Drawing
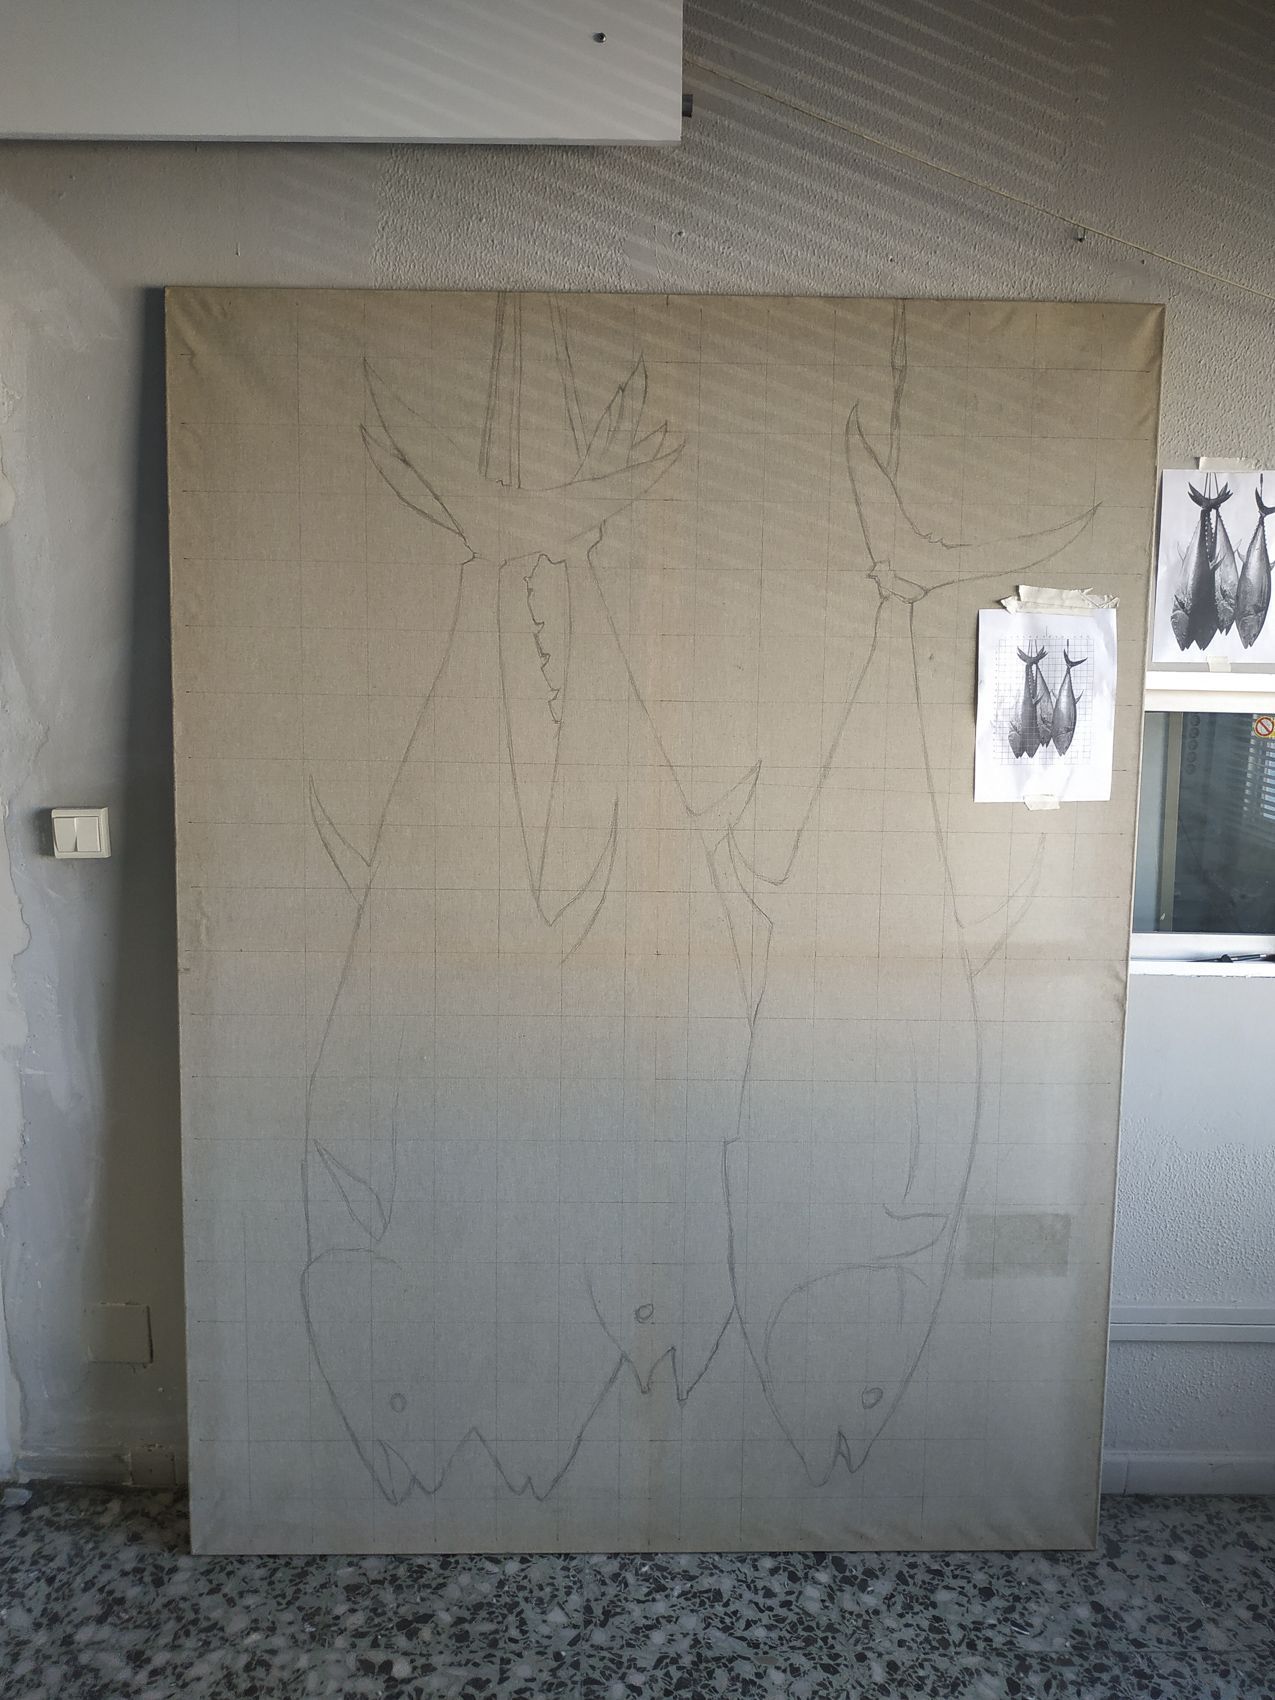
The next phase of the prepared painting is the sketch or drawing of the tuna. To transfer the drawing I have traced a grid on the canvas and drawn them with graphite.
Tape or mask
To protect the background without staining it, I apply masking tape to the outline of the tuna. At first I use blue tape, which is stronger than the typical white tape because it is for outdoor use.
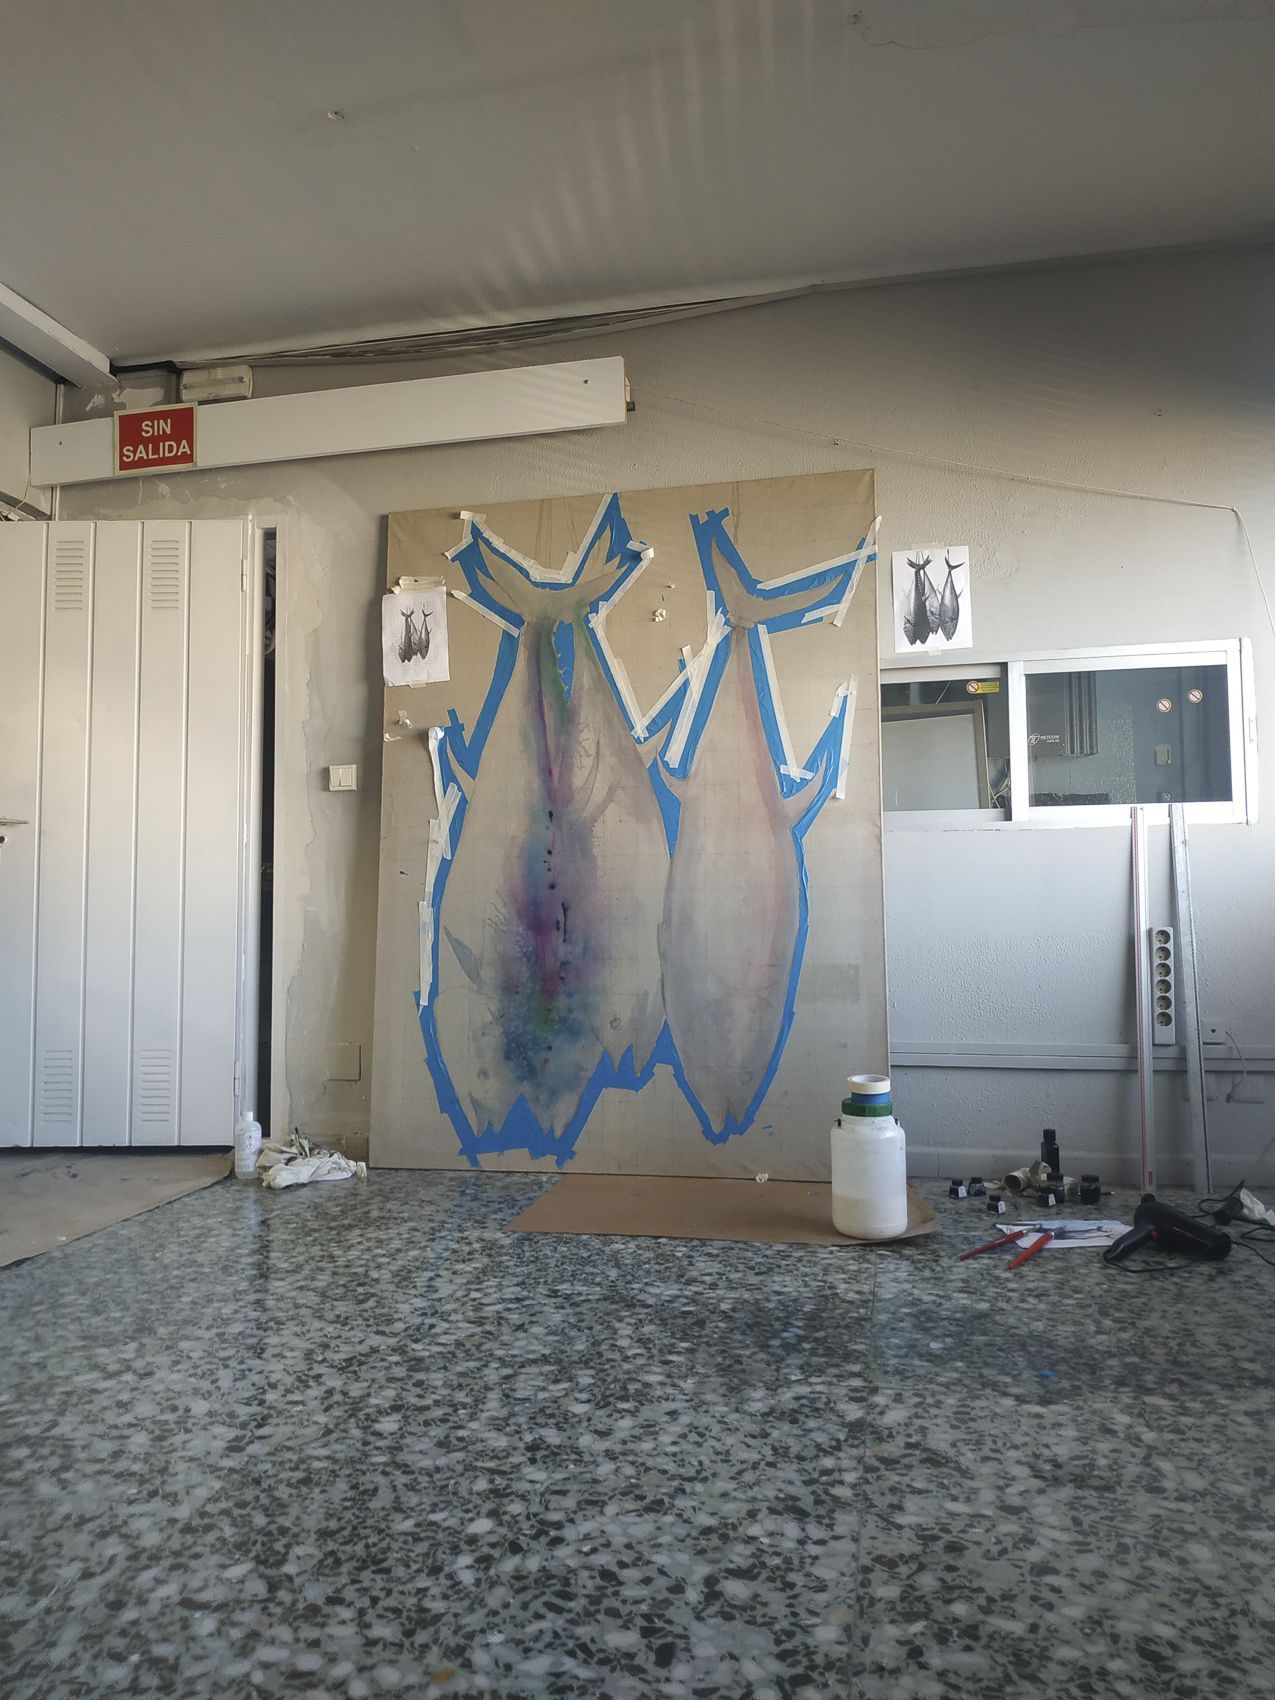
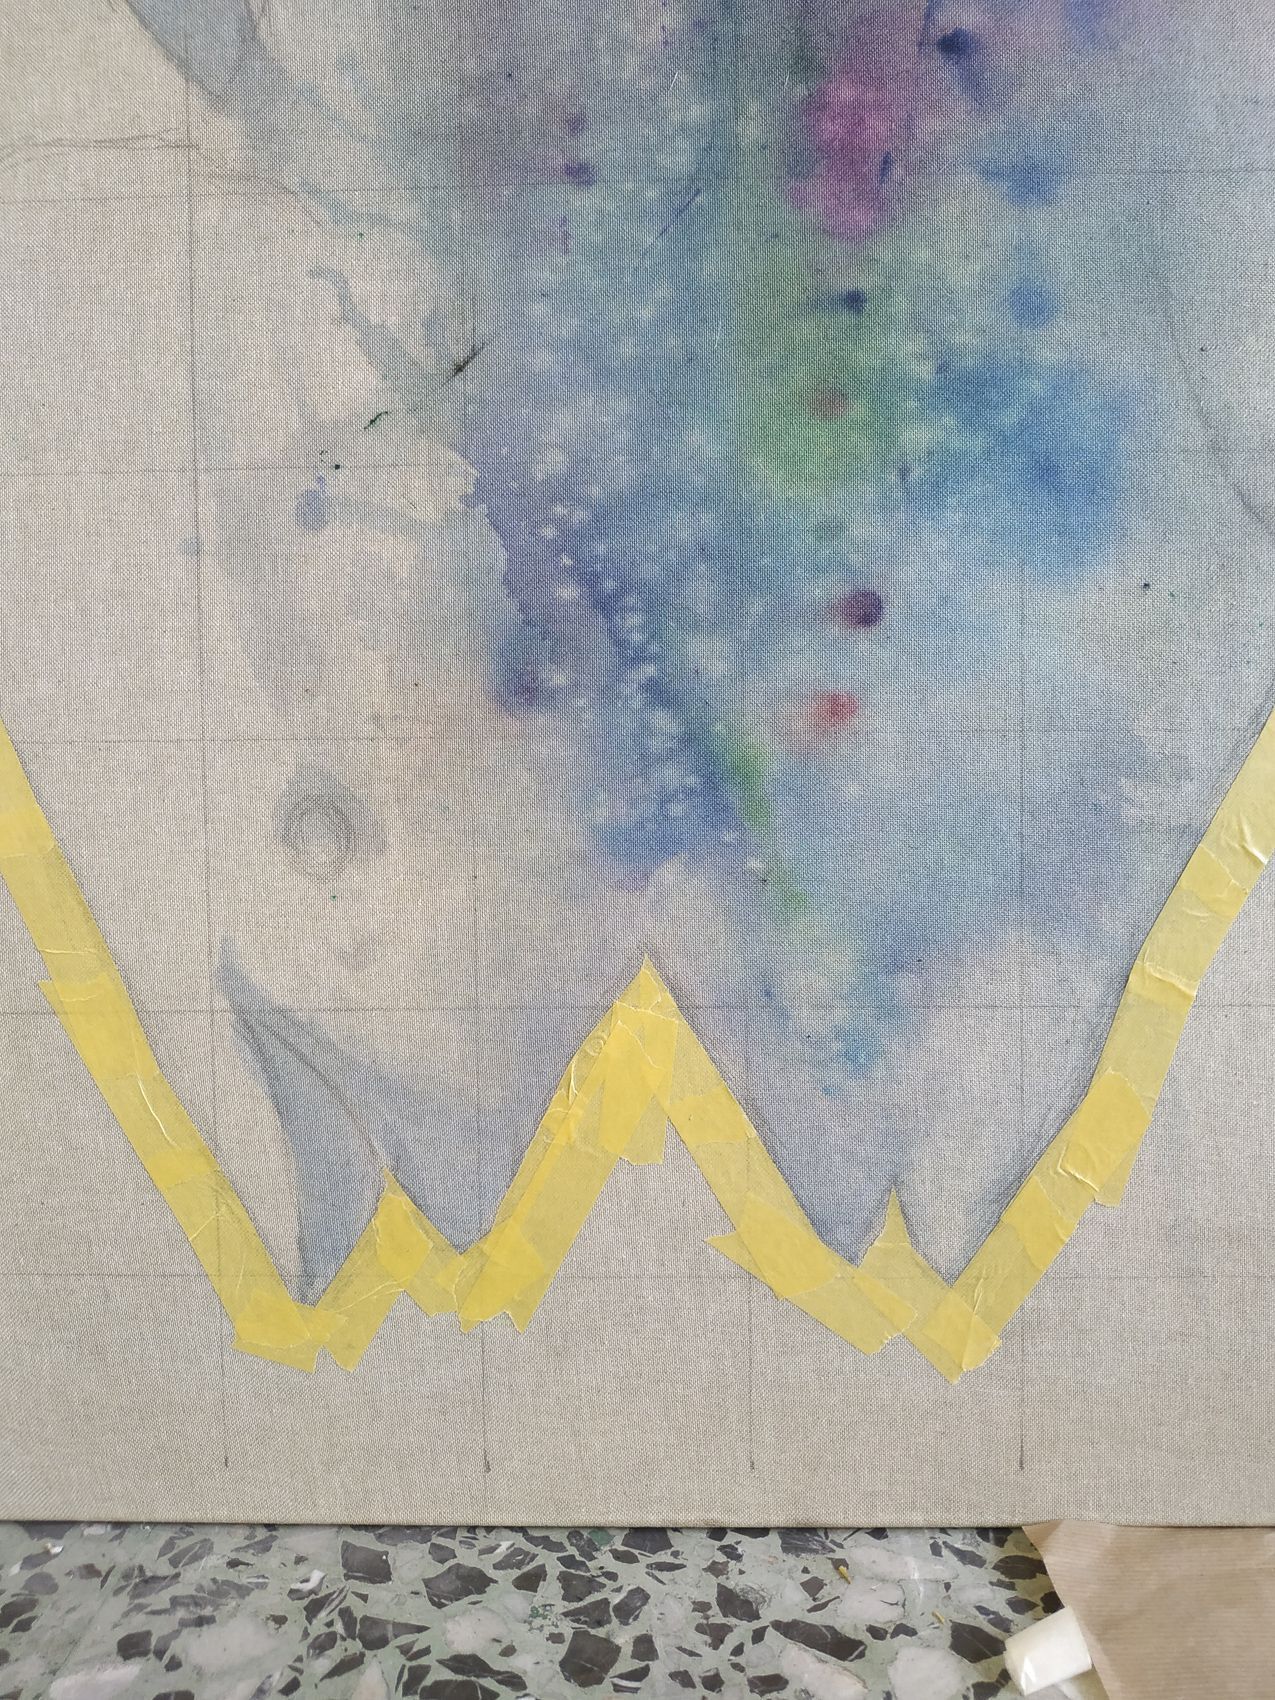
After trying a first layer of ink thinned with alcohol, the blue tape begins to peel off, so I decide to replace it with another yellow tape used for glass, which is apparently more resistant. Even so, there are parts where the tape does not completely adhere to the fabric or where it lifts with alcohol and ink, so I decide to apply a coat of latex to the yellow tape outline to seal it. This procedure solves my problem to a large extent. Later, as the painting progresses, I decide to cover the rest of the fabric with white tape.
The truth is that the part of the tape gave me quite a few headaches.
Painting
Since this is a technique I had not used before, alcohol-based inks, everything is new to me. Each phase requires adapting and improvising solutions.
In this first phase of painting with inks I work horizontally with the painting on the ground. I apply the inks either directly or diluted with 96º alcohol and once on the canvas I add more alcohol and move the colors with the help of a hair dryer and also blowing with a straw.
In this way I get that the different colors are melting between layers of application, keep in mind that these inks are reactivated when alcohol is applied to them which allows this fusion.
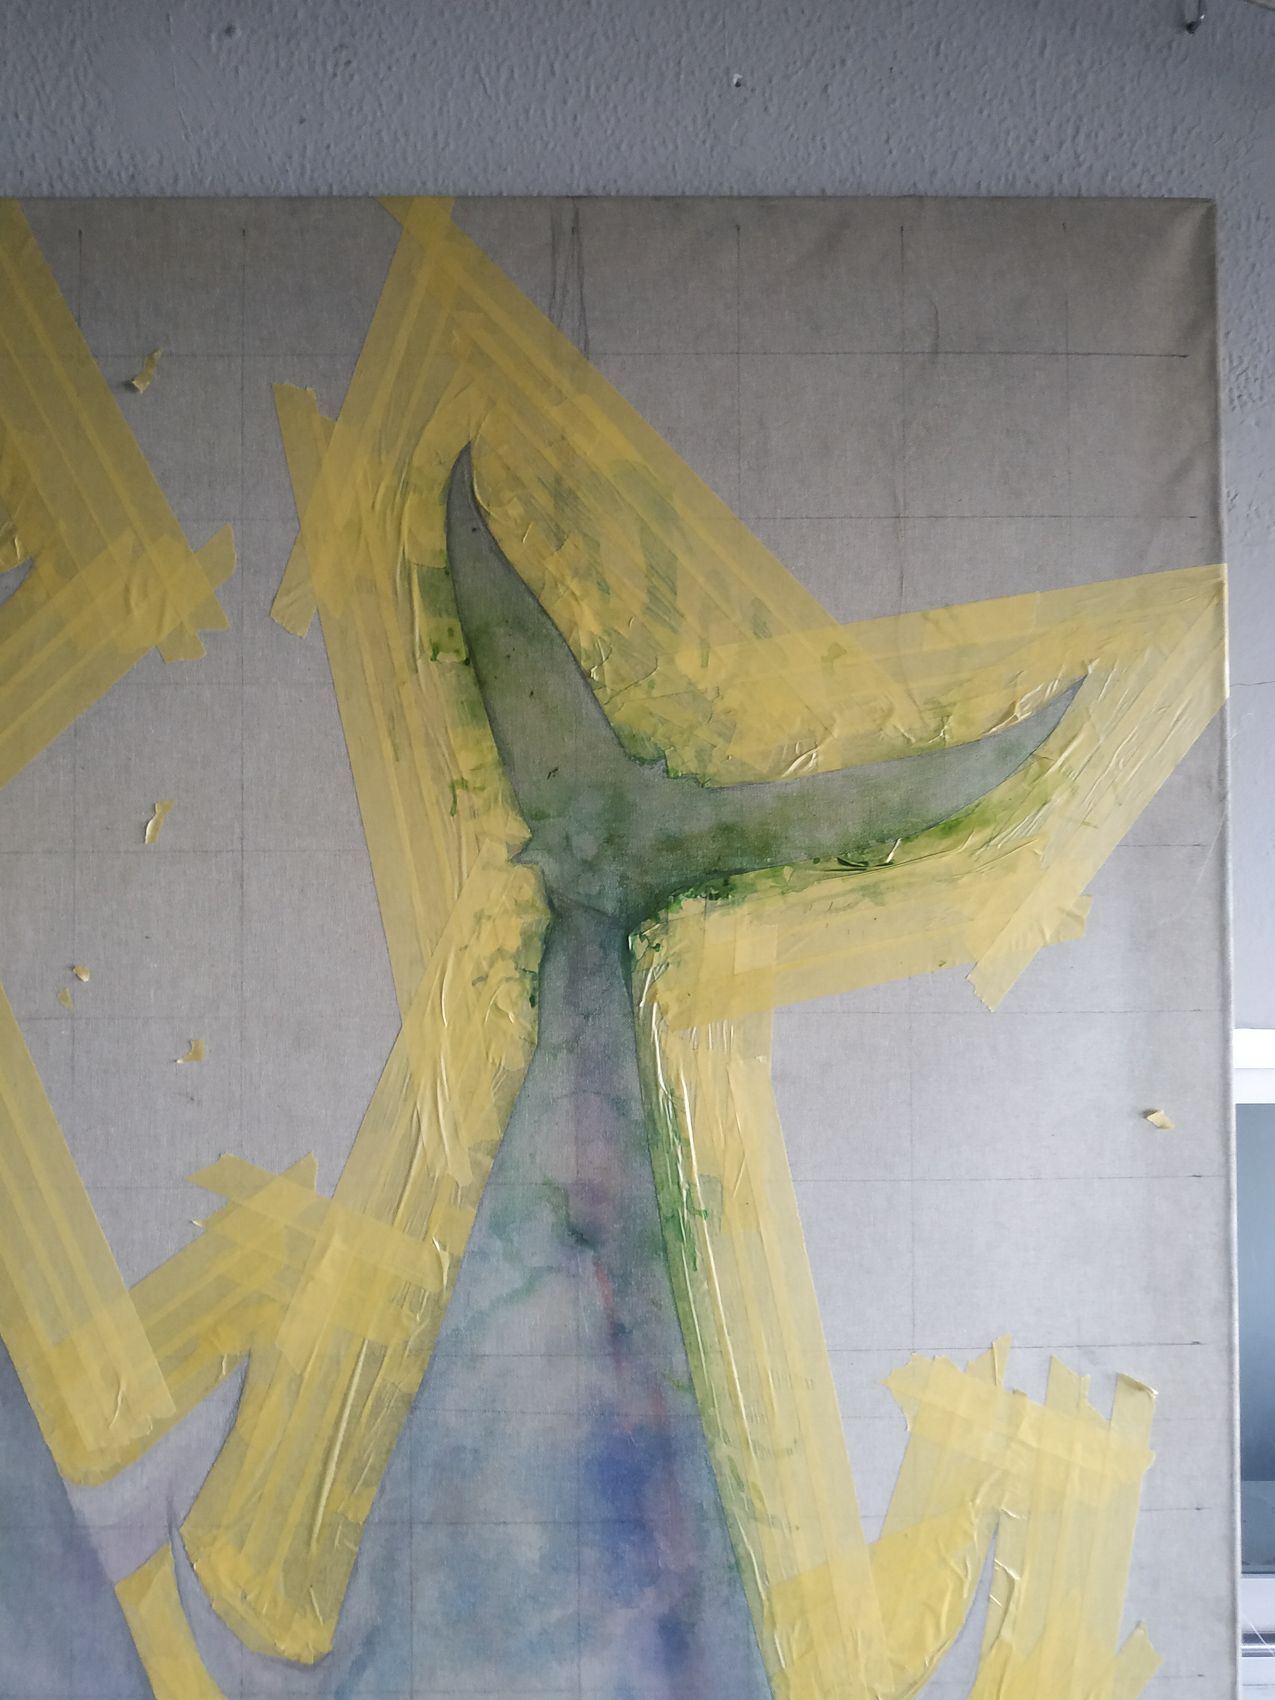
As the painting progresses, I become familiar with the inks and alcohol, with their effects, proportions and intensity of results.
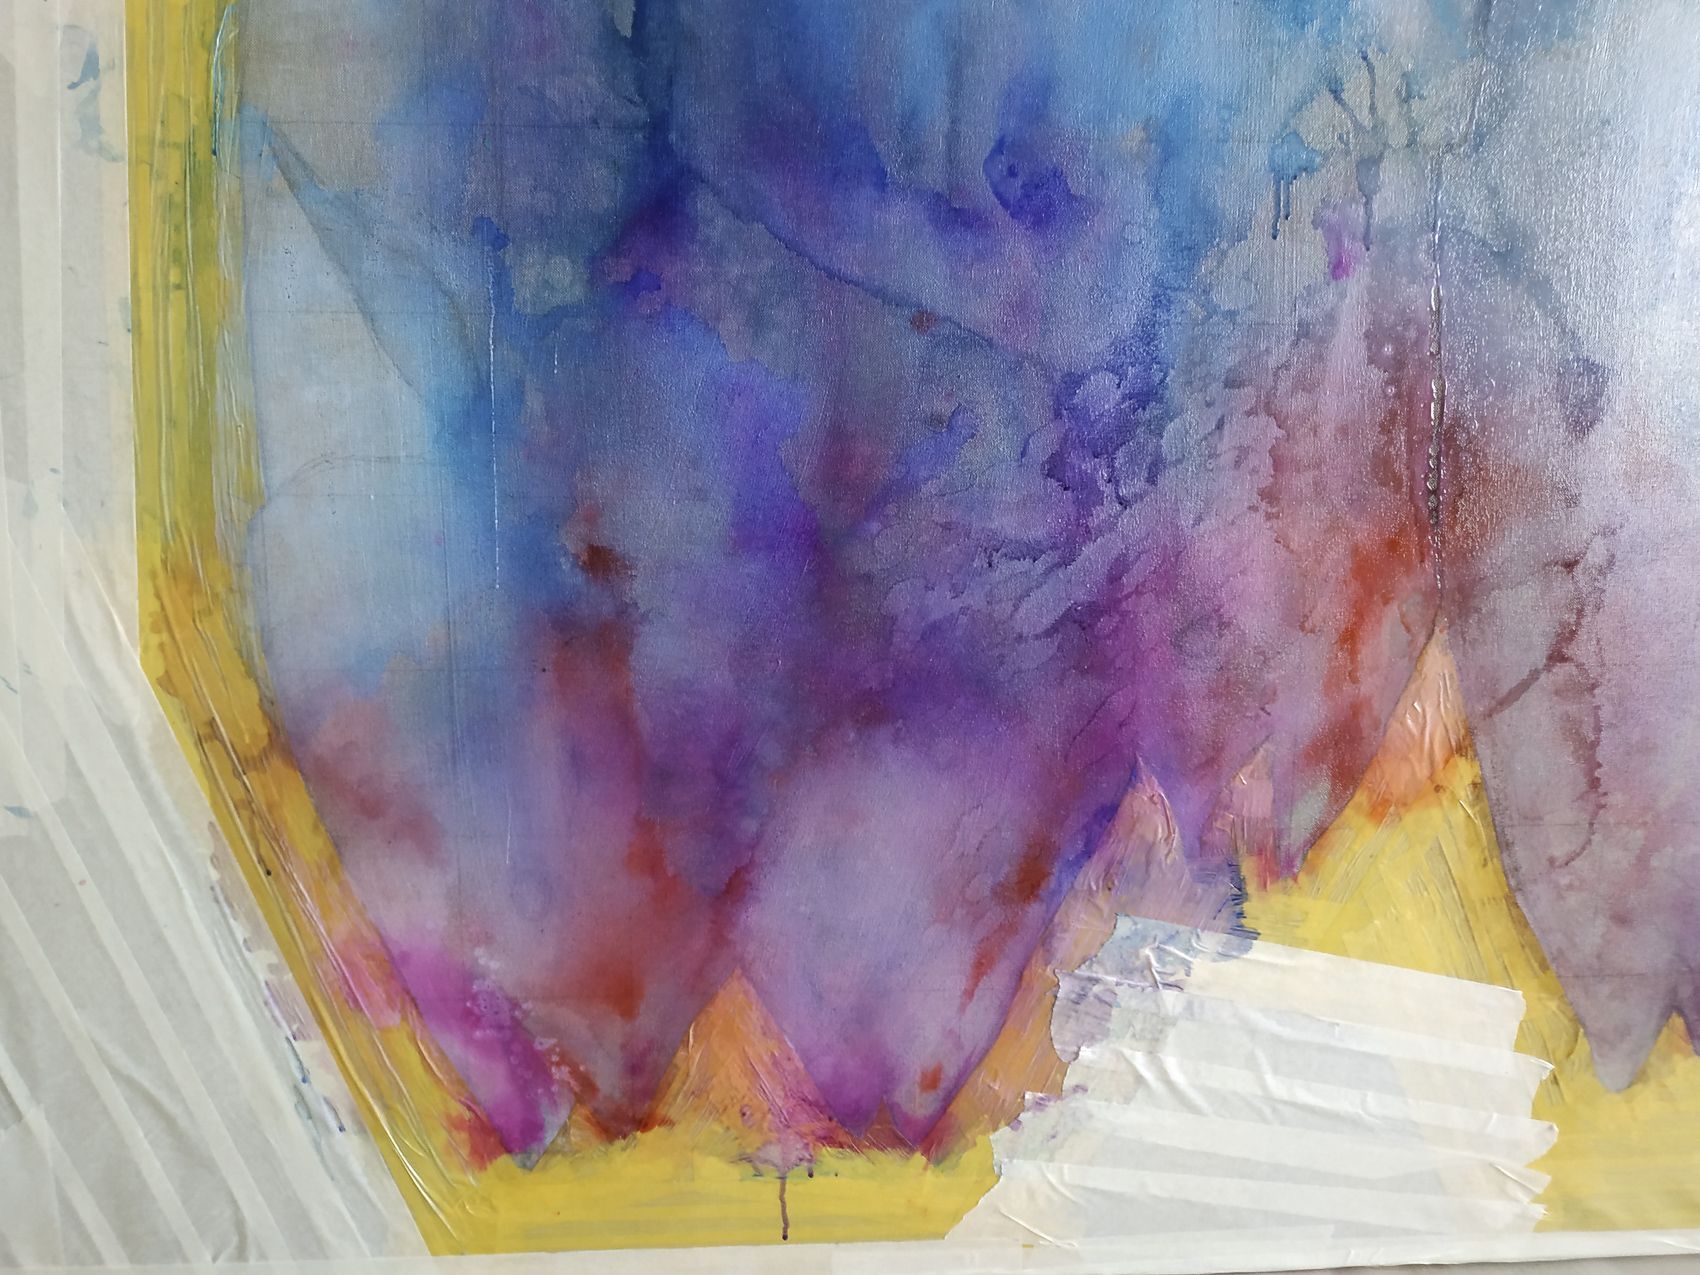
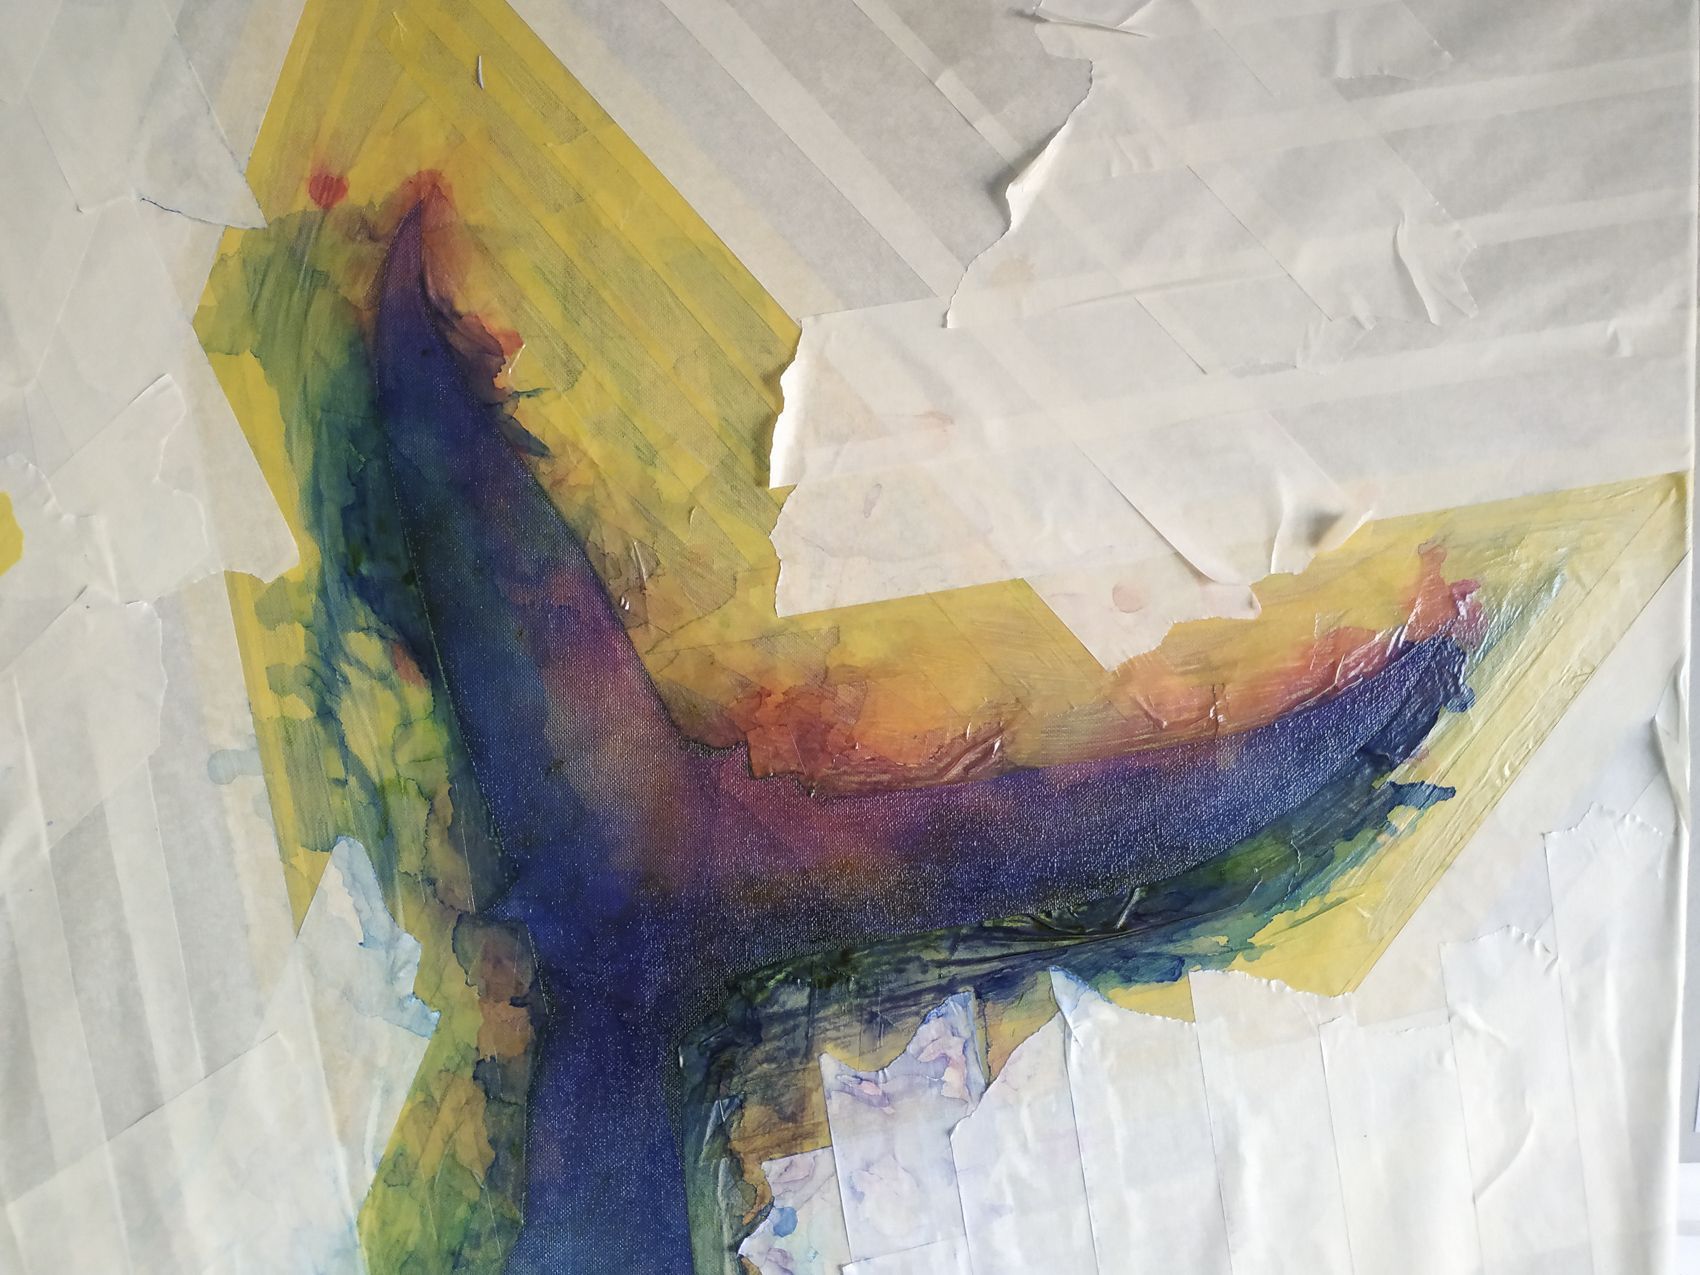
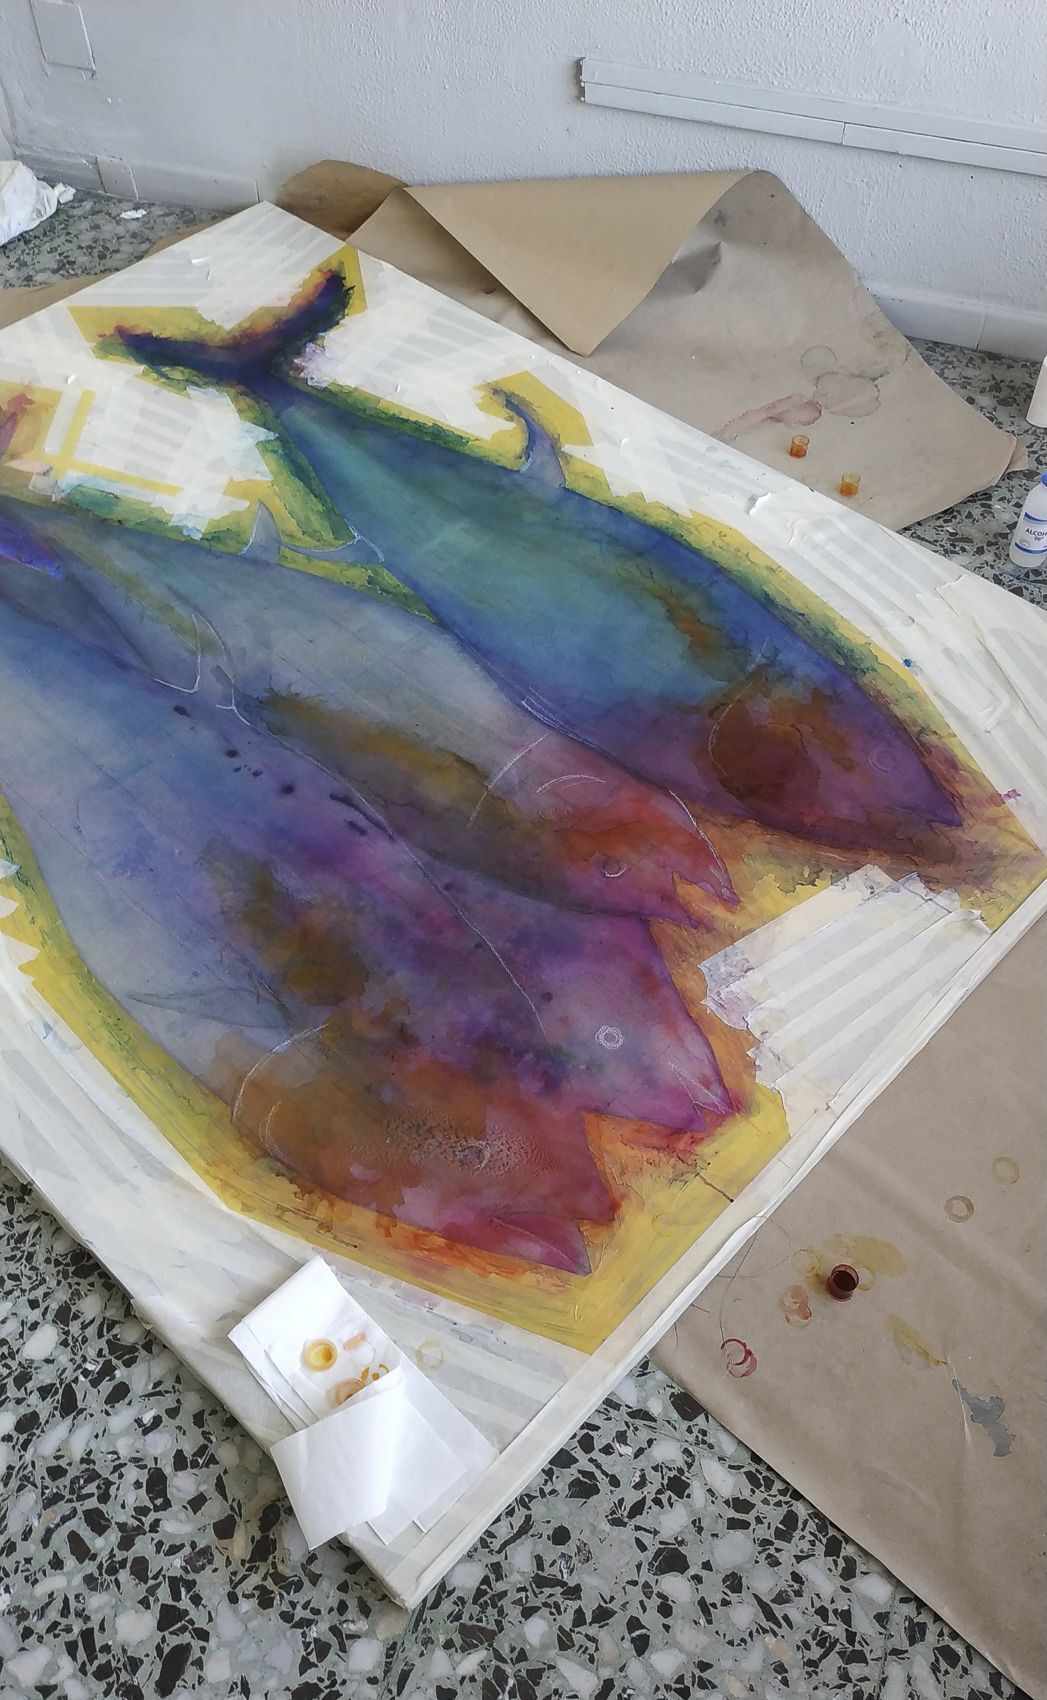
At a given moment, when I already have a base of color in the painting, I continue with charcoal and pastels redrawing the tunas.
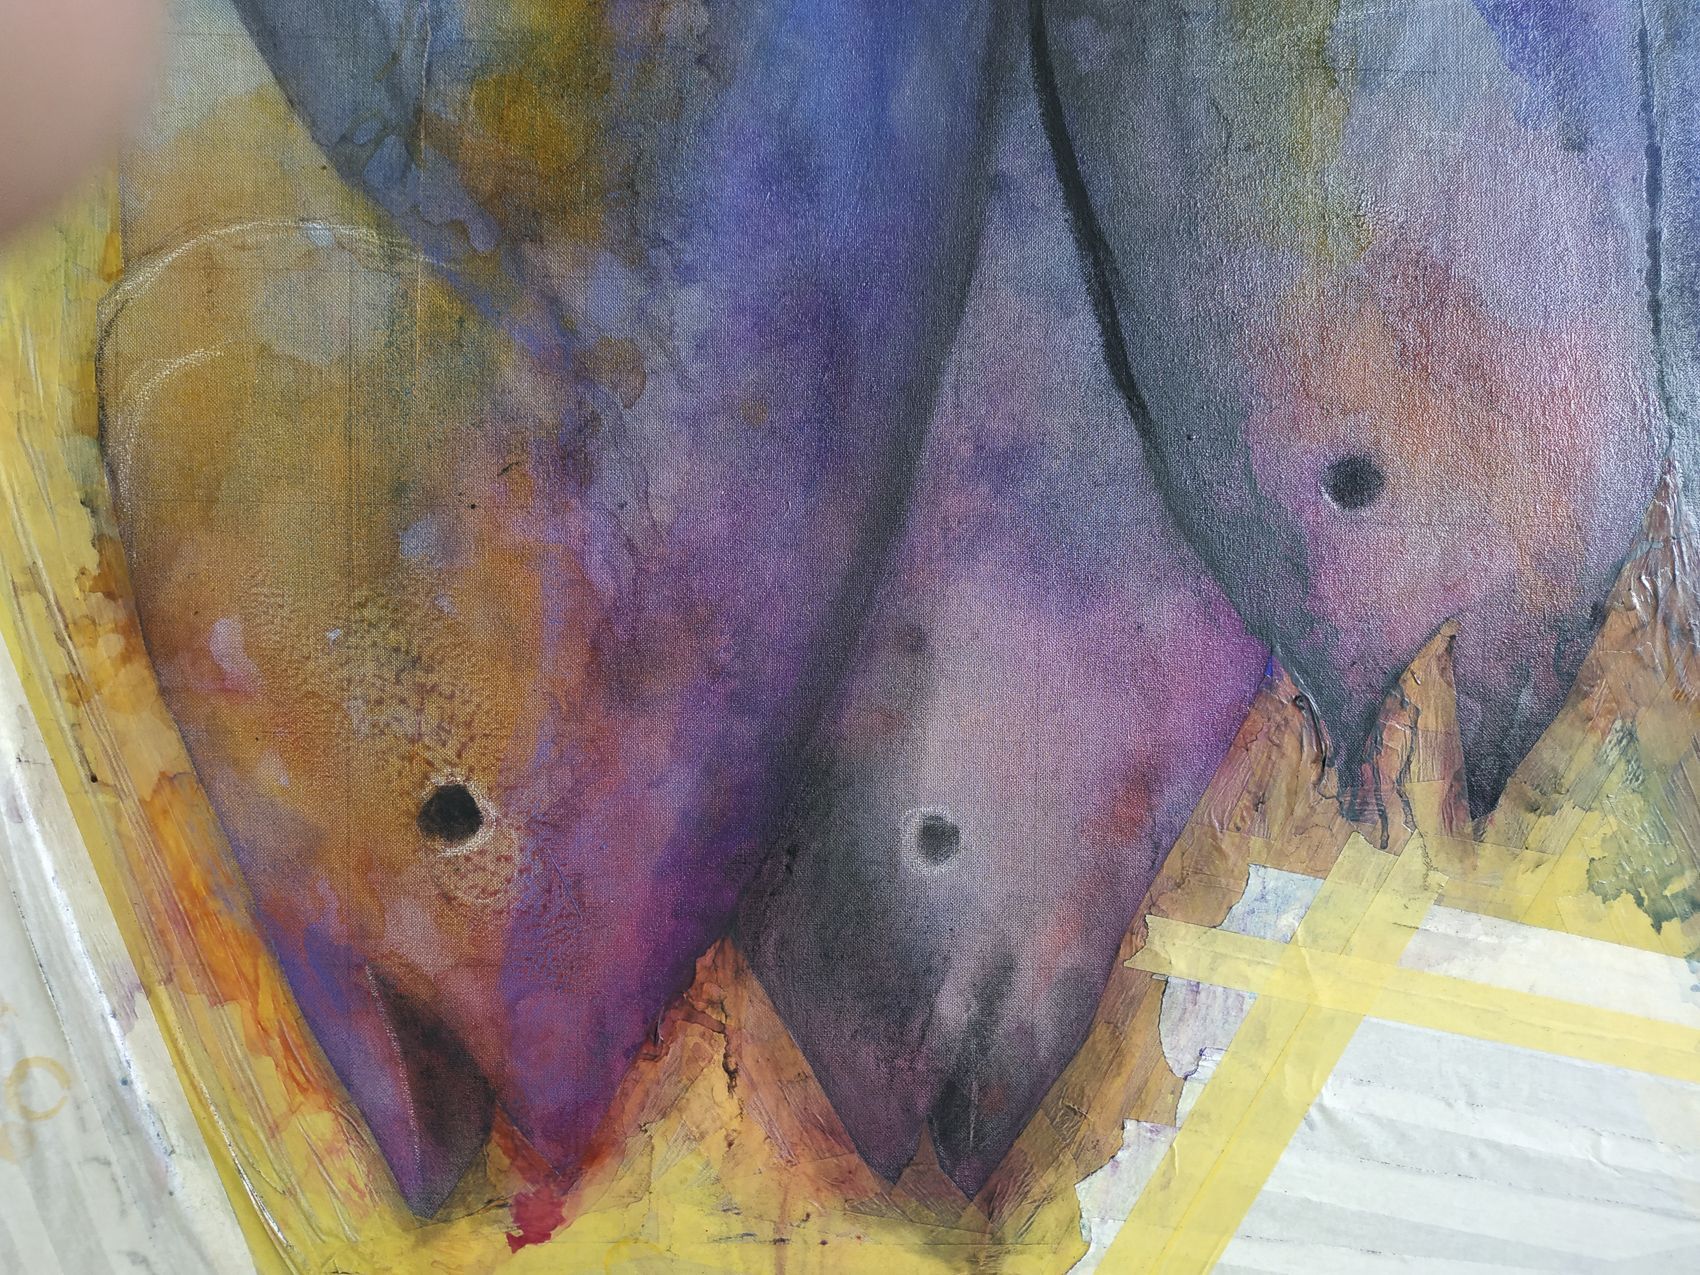
I then apply the gold leaf to the areas of the tuna that have those characteristic shiny spots.
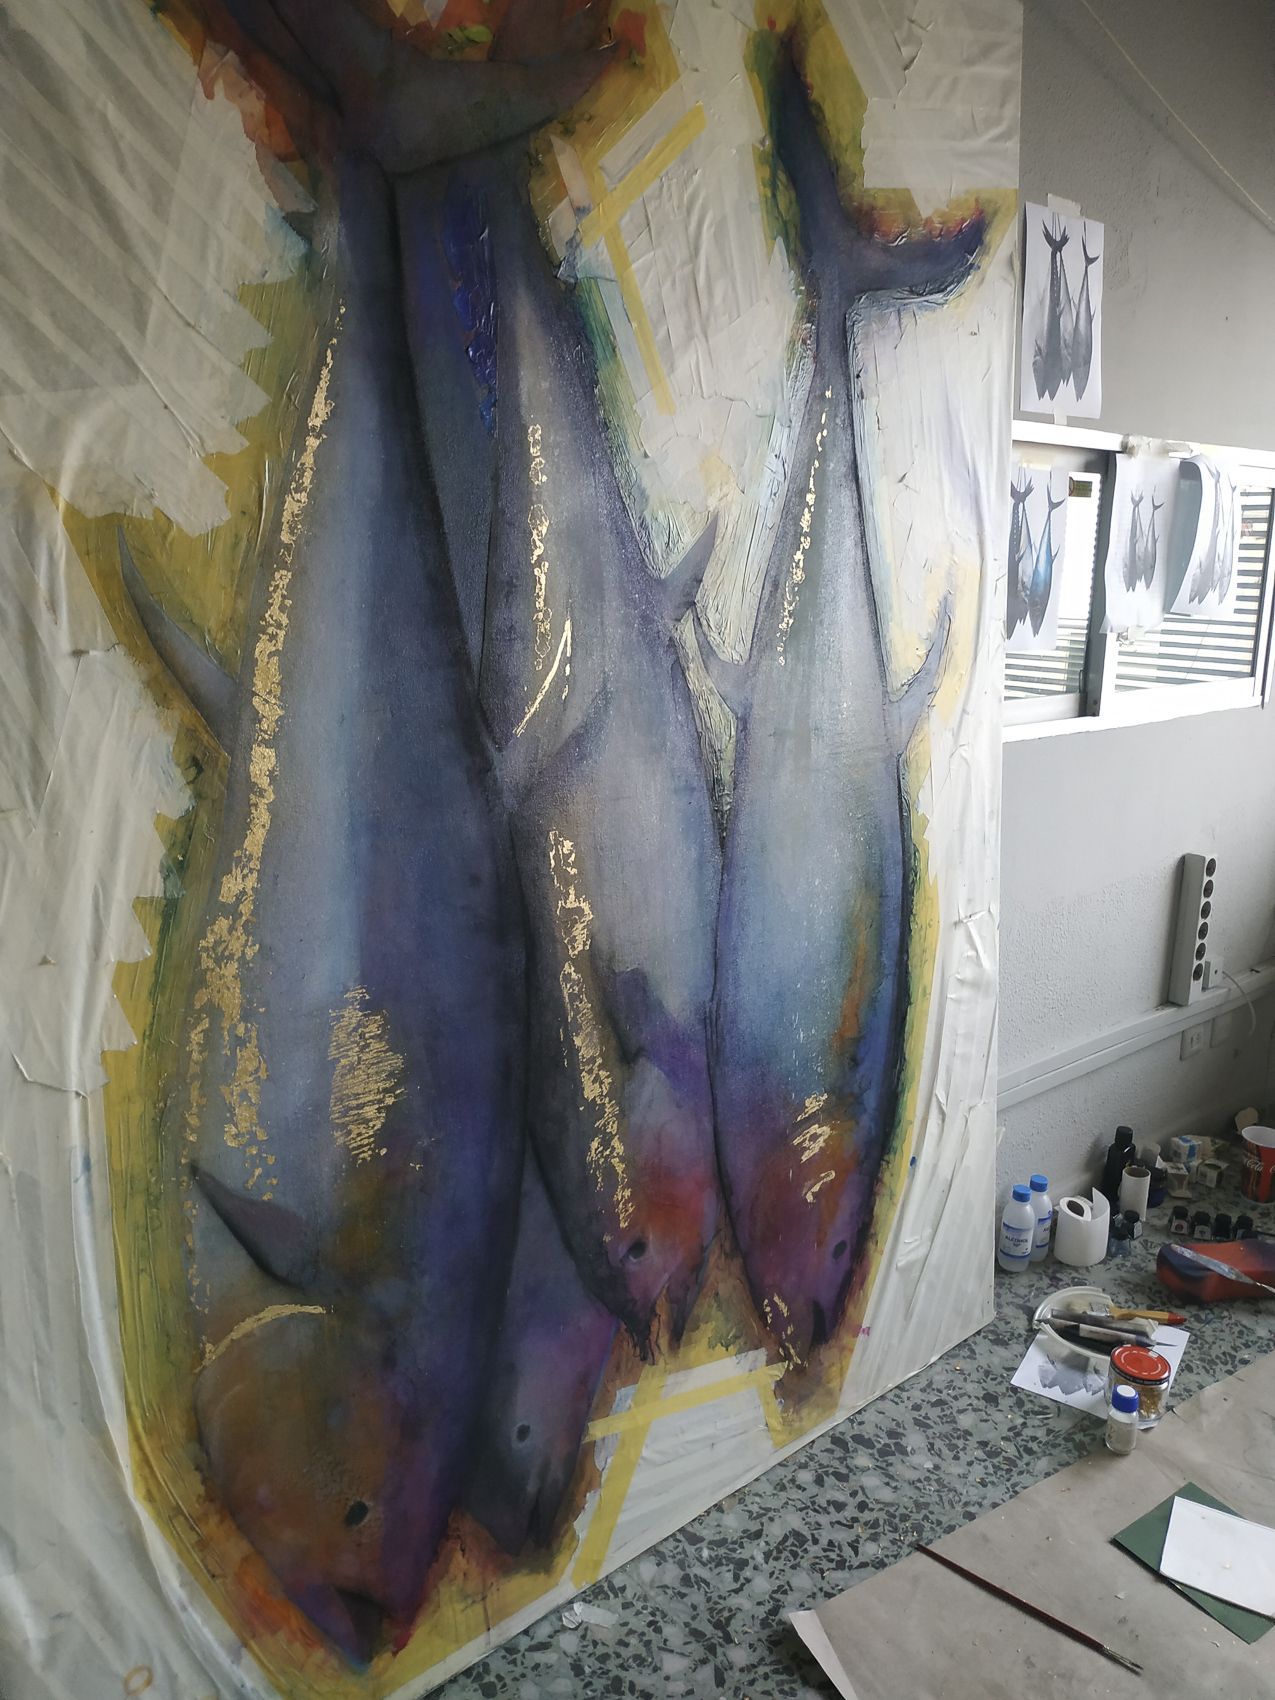
After the gold leaf I continue defining the areas of lights and shines with pastels and silver ink spray thinned with alcohol.
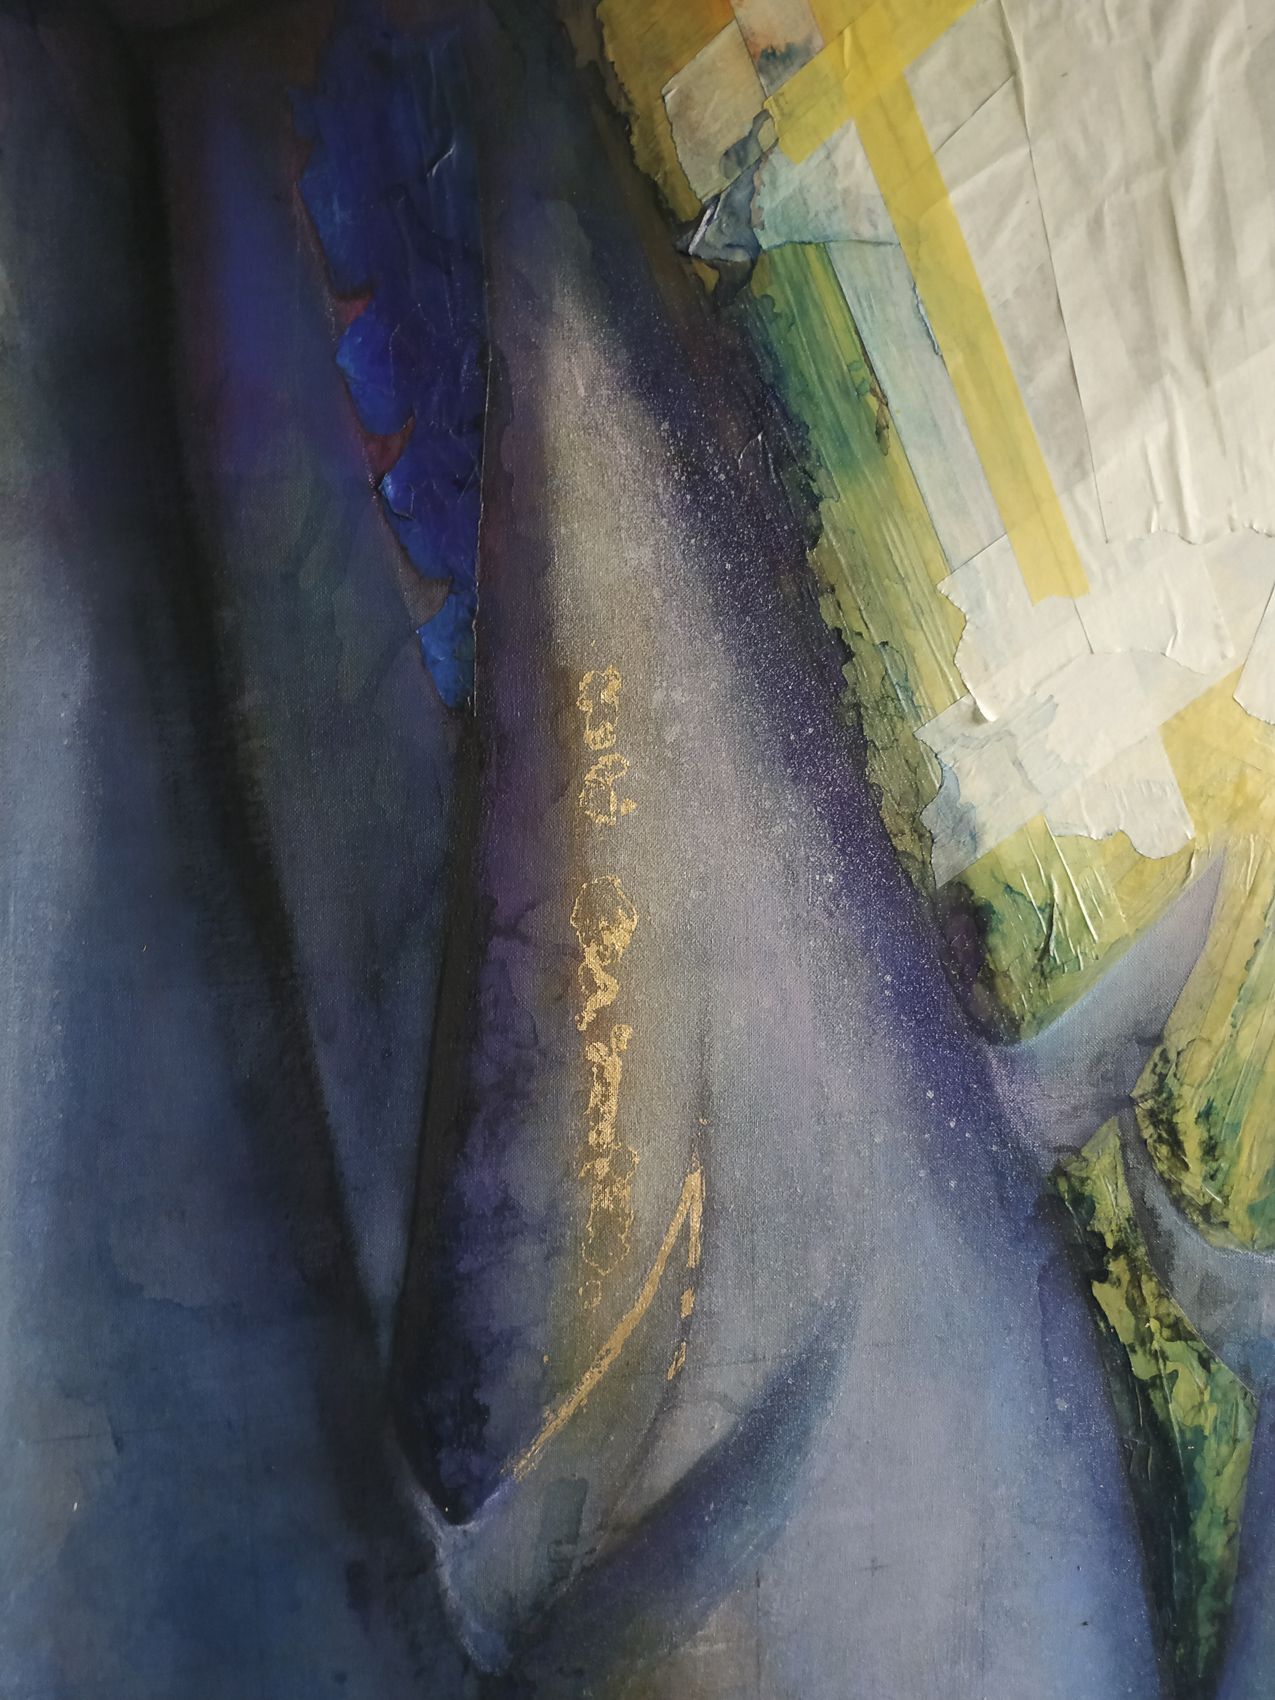
At this moment I am starting to work with acrylics. I use it to define the drawing and also to apply texture effects on the tuna skin.
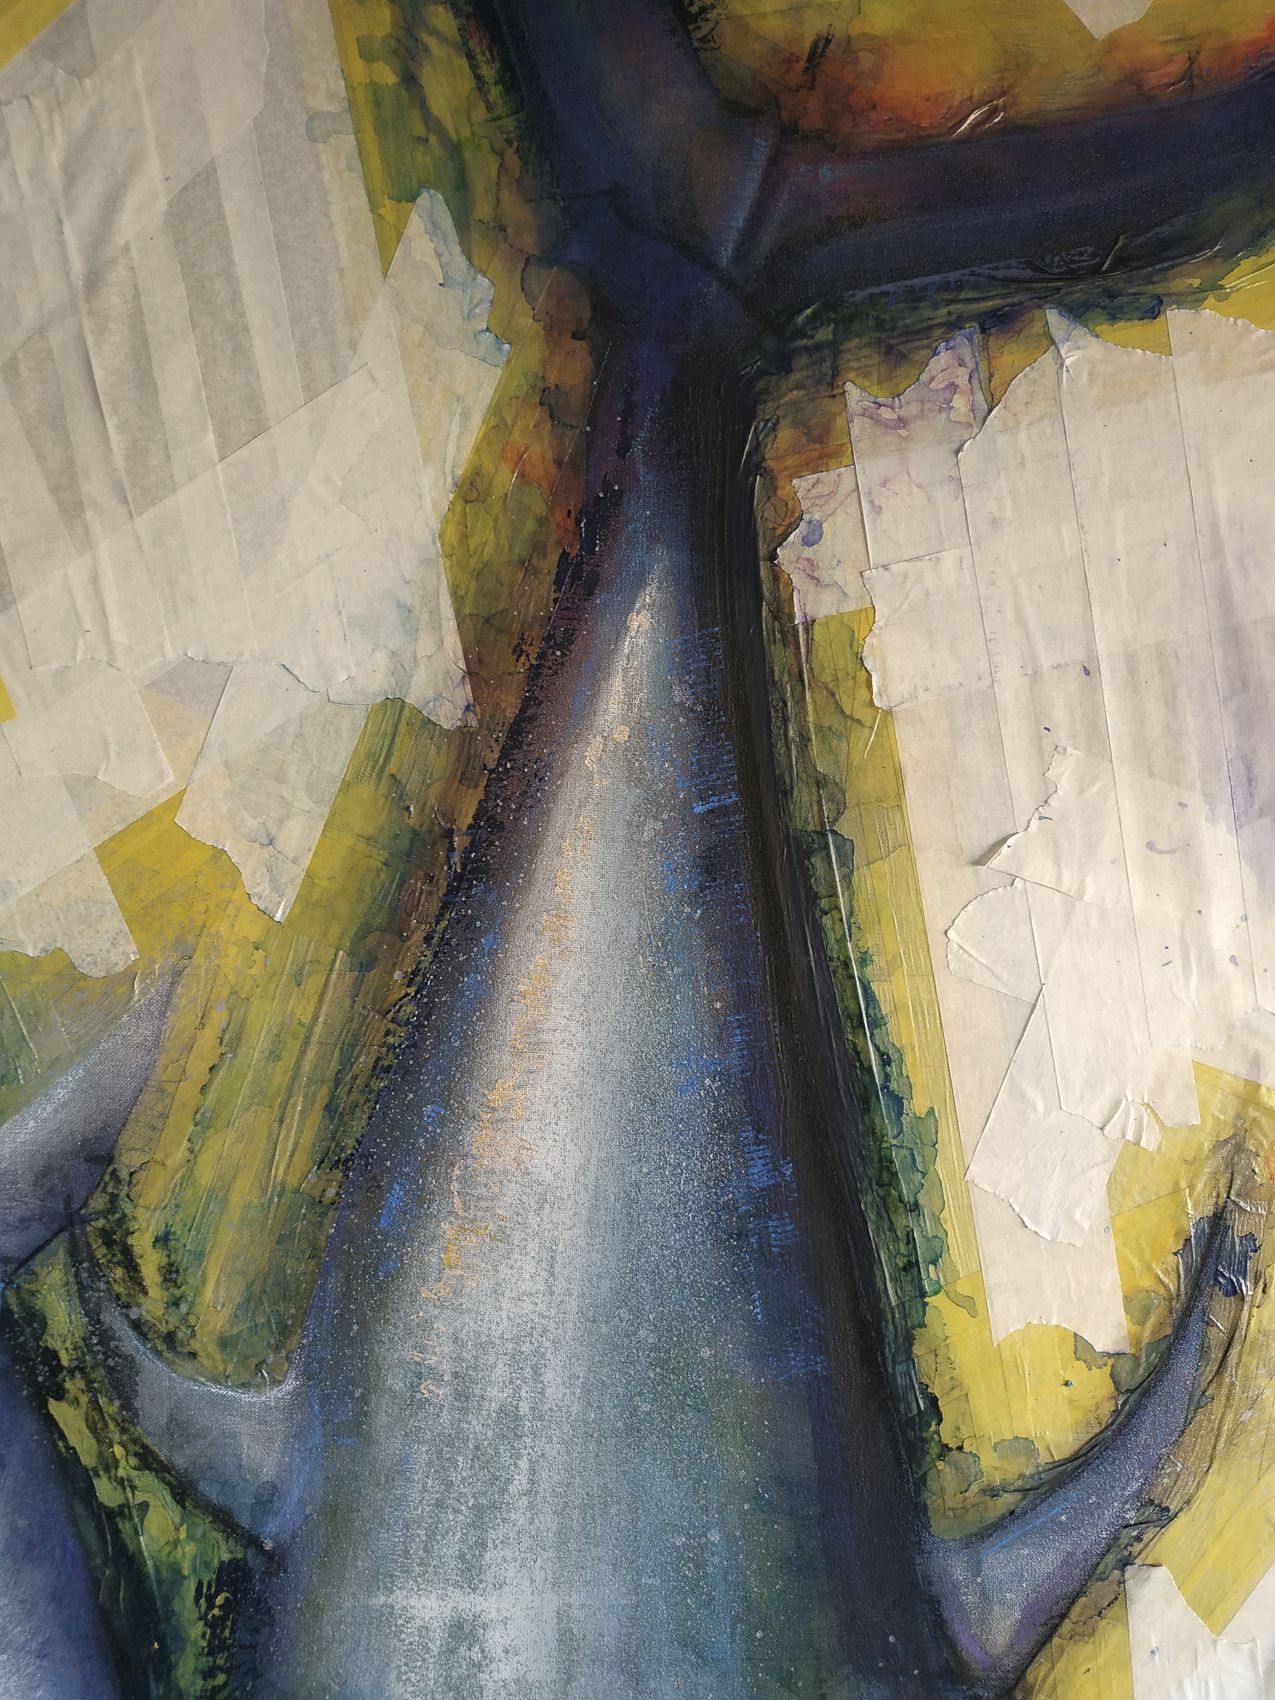
I continue to define shades of color and shape. The painting is in a state that seems to me to be close to completion. I remove the tape protecting the canvas.
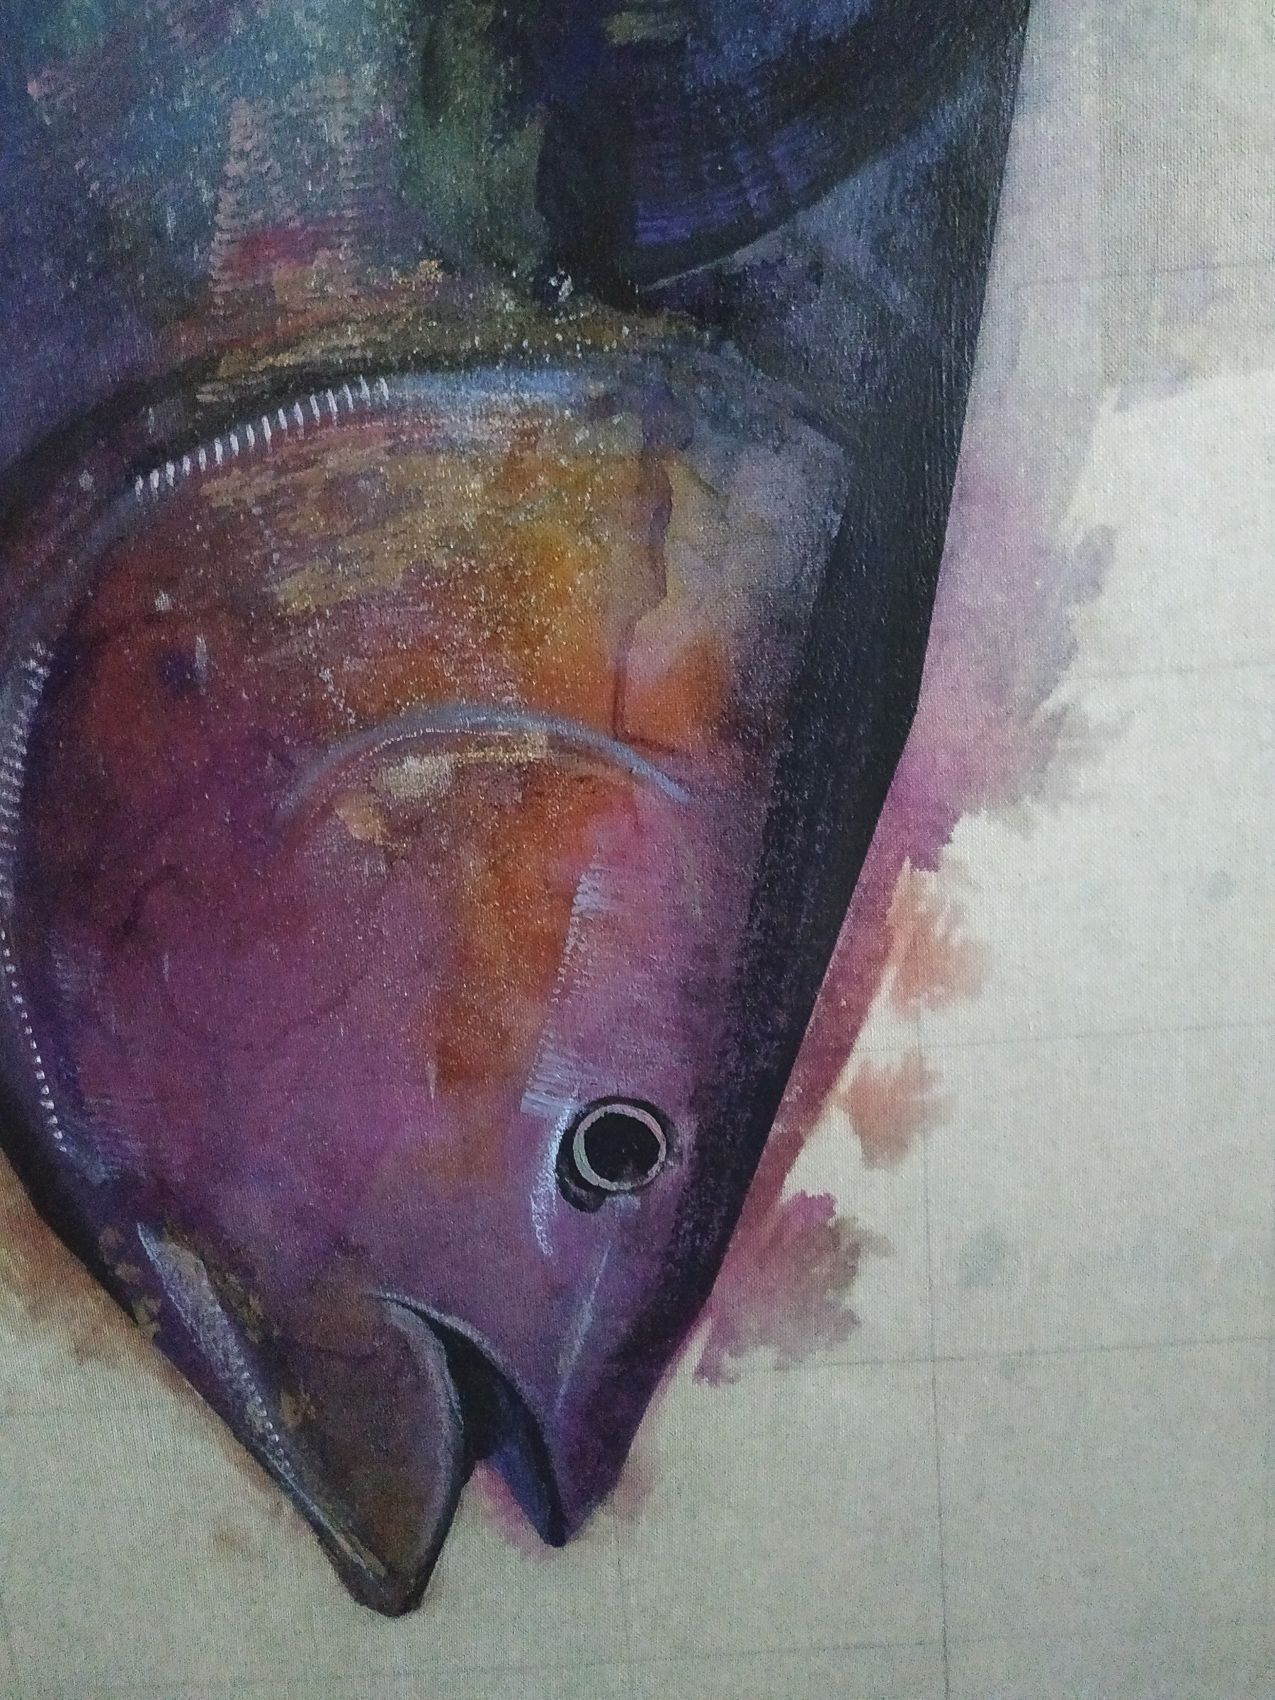
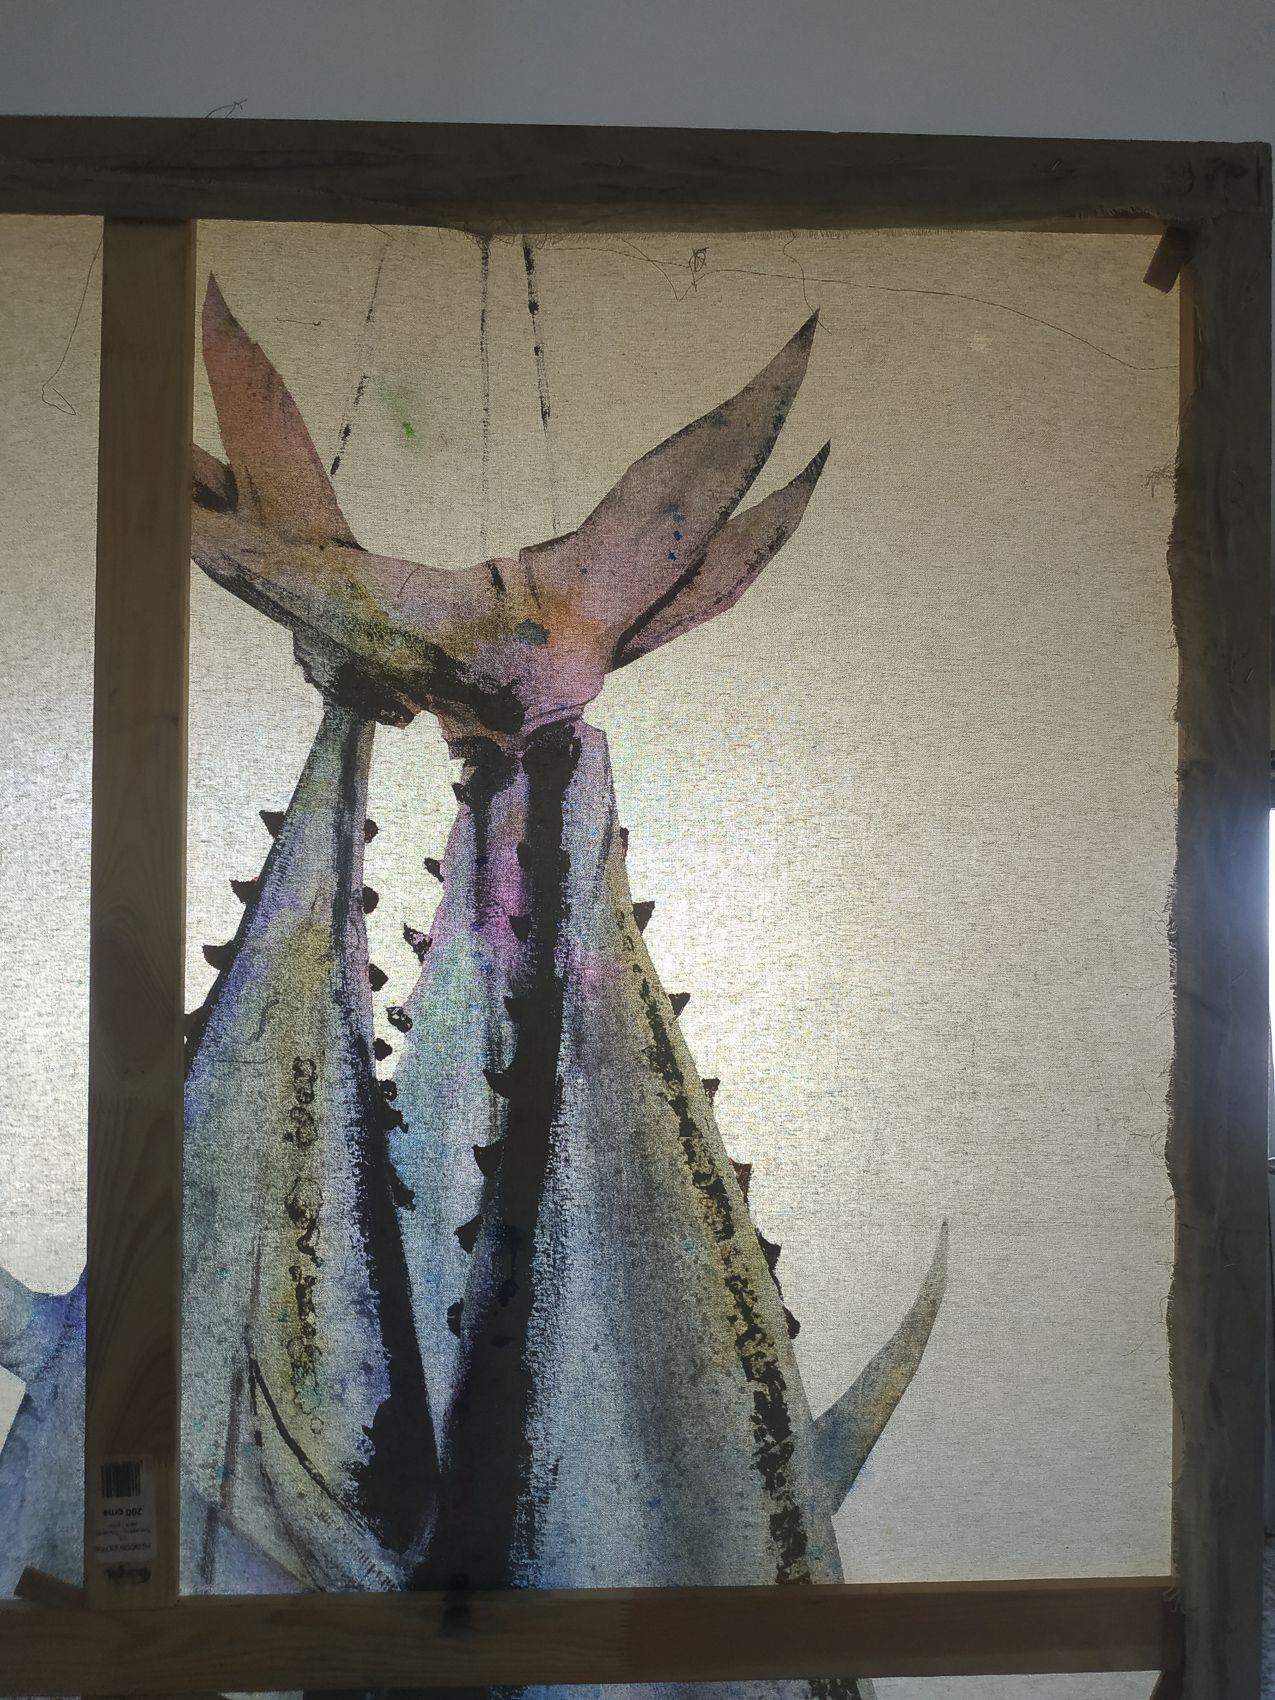
I am making details such as the small tail fins now that I have removed the outline tape. These small fins or pinnules are made with gold leaf.
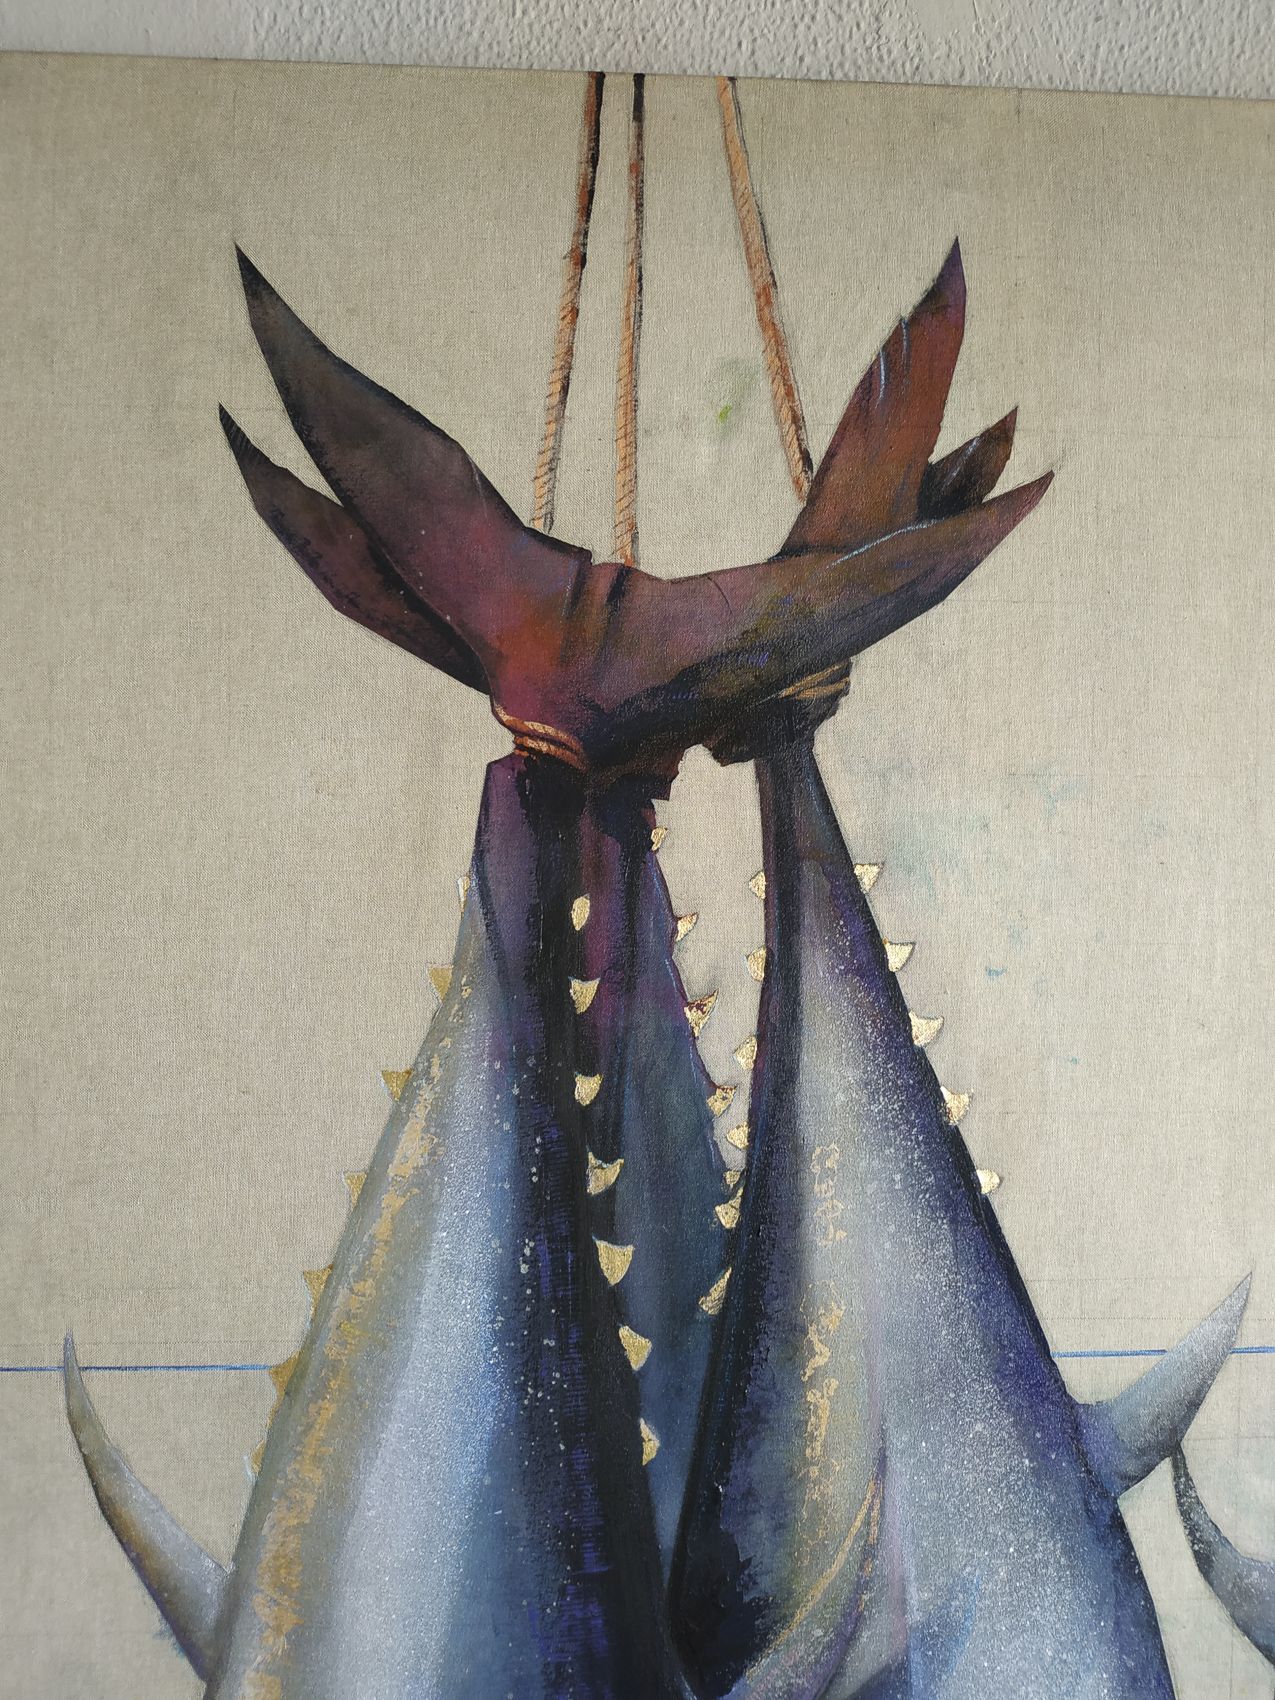
The last details that I add in this process of the painting “Tuna” are the ropes from which the protagonists hang and the horizon line of the sea, both using acrylic and pastels and without stopping to detail them too much.
To view the completed painting